
As a hobby that can easily turn into an obsession many homebrewers (including myself) often find themselves spending many of their free moments during their work days reading homebrewing blog articles and keeping up with the latest posts on their go-to forums. Personally my go to forum over the past two years has been the homebrewing sub-reddit aka /r/homebrewing. In time, I’ve come to notice that certain types of posts garner lots of activity (up-votes and comments no matter how often they’re posted.
One of these popular types of posts (or topics) is keezer build pictures and step by step blog posts…As a homebrewer who has put a lot of effort into the appearance of his keezer I tend to click on every keezer post that I come upon; including darthKOTOR‘s posted link of a video showing him building/making custom tap handles for a brewery named Cold Fusion. After watching the video a couple times I decided to message him and ask if he’s be willing to work on a tap handle design with me and then create custom tap handles with the resulting design. He happily accepted the opportunity and within a month we were able to go from design to finished product.
In order to best document our process I’ll use the pictures that darkKOTOR aka Nik Stevens of Thunderdog Tapwerks sent me along the way to explain each step…
Step One: Initial Design
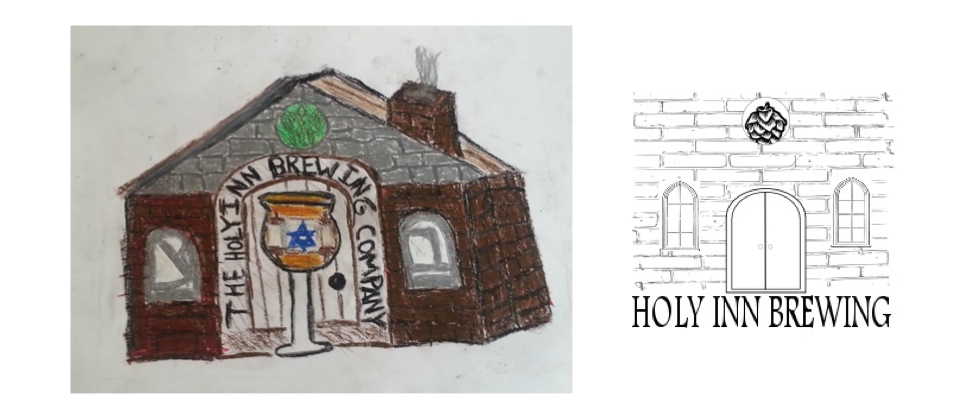 Upon inquiring about the possibility of him making custom tap handles for my home-brewery aka The Holy Inn Brewing Company Nik asked me for a digital image of my design and I sent him a copy (left) of my hand drawn (pastel crayons) design that I have hanging above my keezer. A few days later sent the picture that you see on the right and asked for feedback on his initial mock up of the design that he’d be laser cutting onto the future tap handles.
Step Two: Refining and Finalizing the design (graphic):
 In response to his first draft of the design I sent him the following message. “Since my design it quite detailed I see why it will be easier to make a more simplified version for the tap handles. I like the idea of putting the hop picture on the steeple (like in my design). The only thing that I’d add is a star of David on each door. Also, if you can put that star of David in a Torah scroll (like on the door of my design) that would be ideal. Thanks!” Nik then sent me the image that you see on the left with some questions. “So I am not too familiar with Torah rolls, is it okay to have them go vertical like I made them in the photo? I know its a small detail but I was just curious if someone would look at that and be like “Yeah, that’s not how scrolls are read” and be distracted by the detail.”
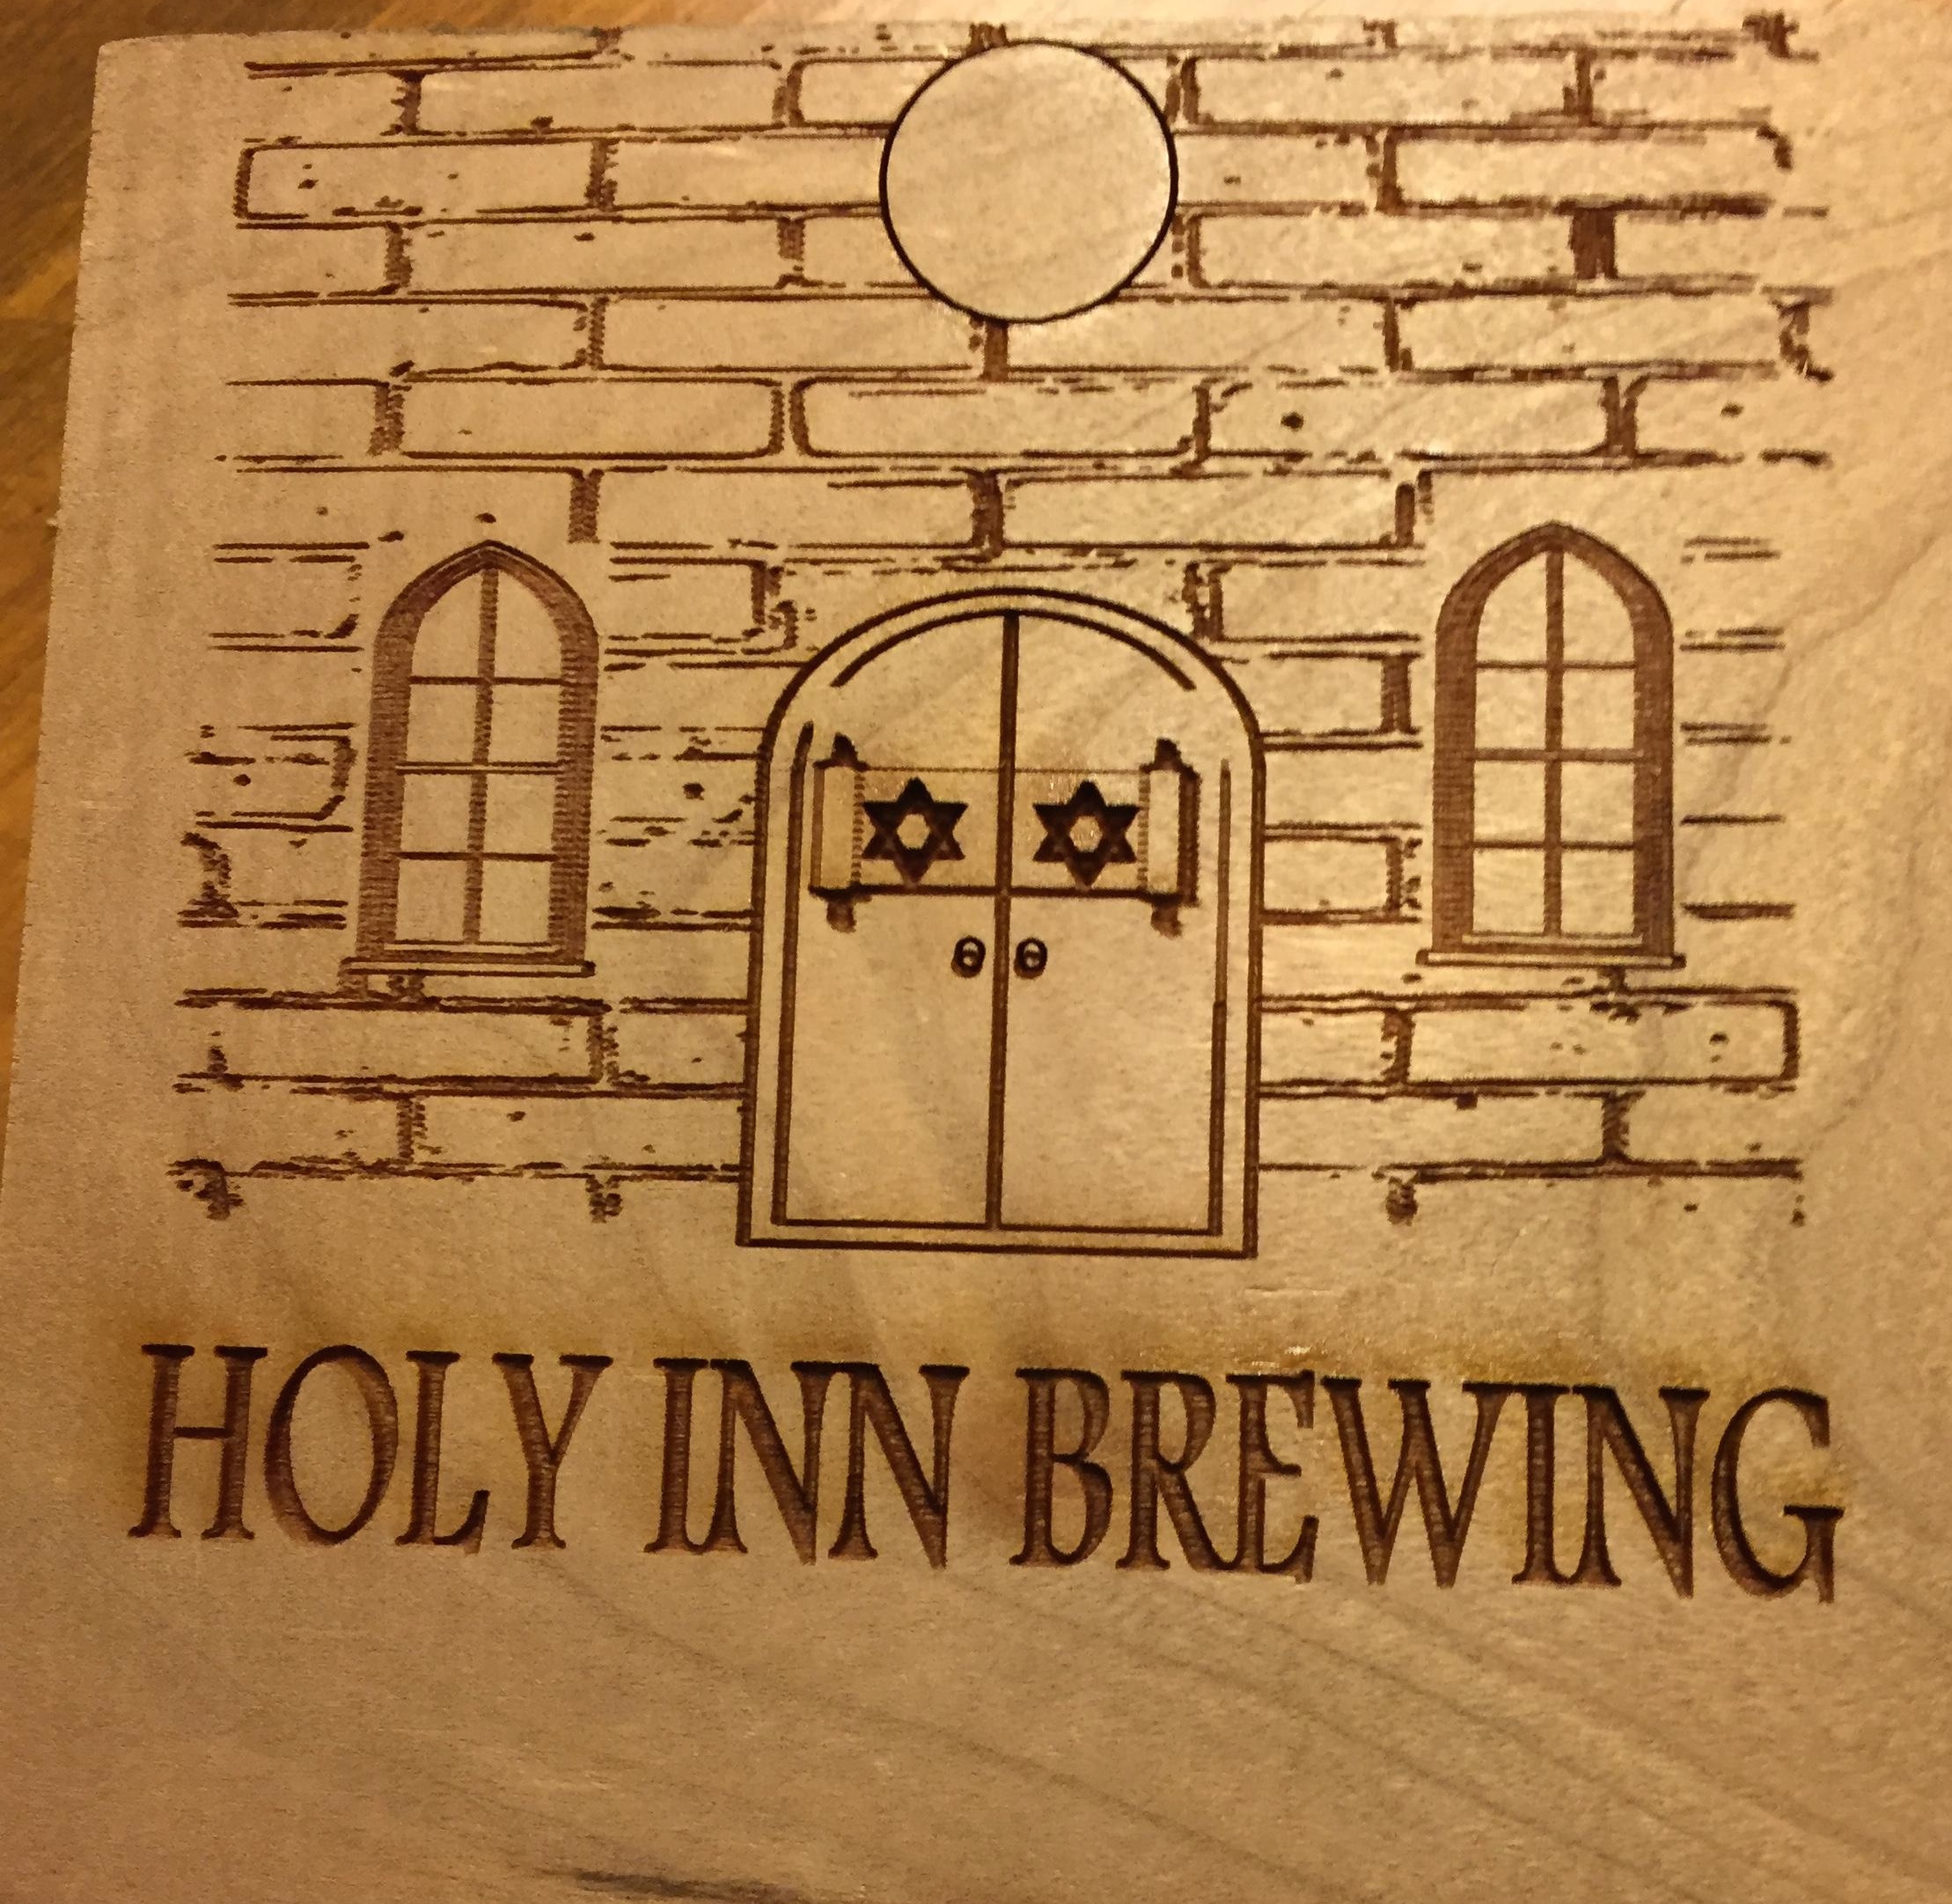
…My response to his questions/concerns led to the final iteration of the design which he laser cut onto a piece of cherry wood. Due to some glitches in his computer’s design software the hop leaf didn’t show up when he tested the design on actual wood, but he assured me that he’d try his best to make sure that all the details of the design would make it onto the finished tap handles.
Step Three: Designing the Tap Handles Themselves
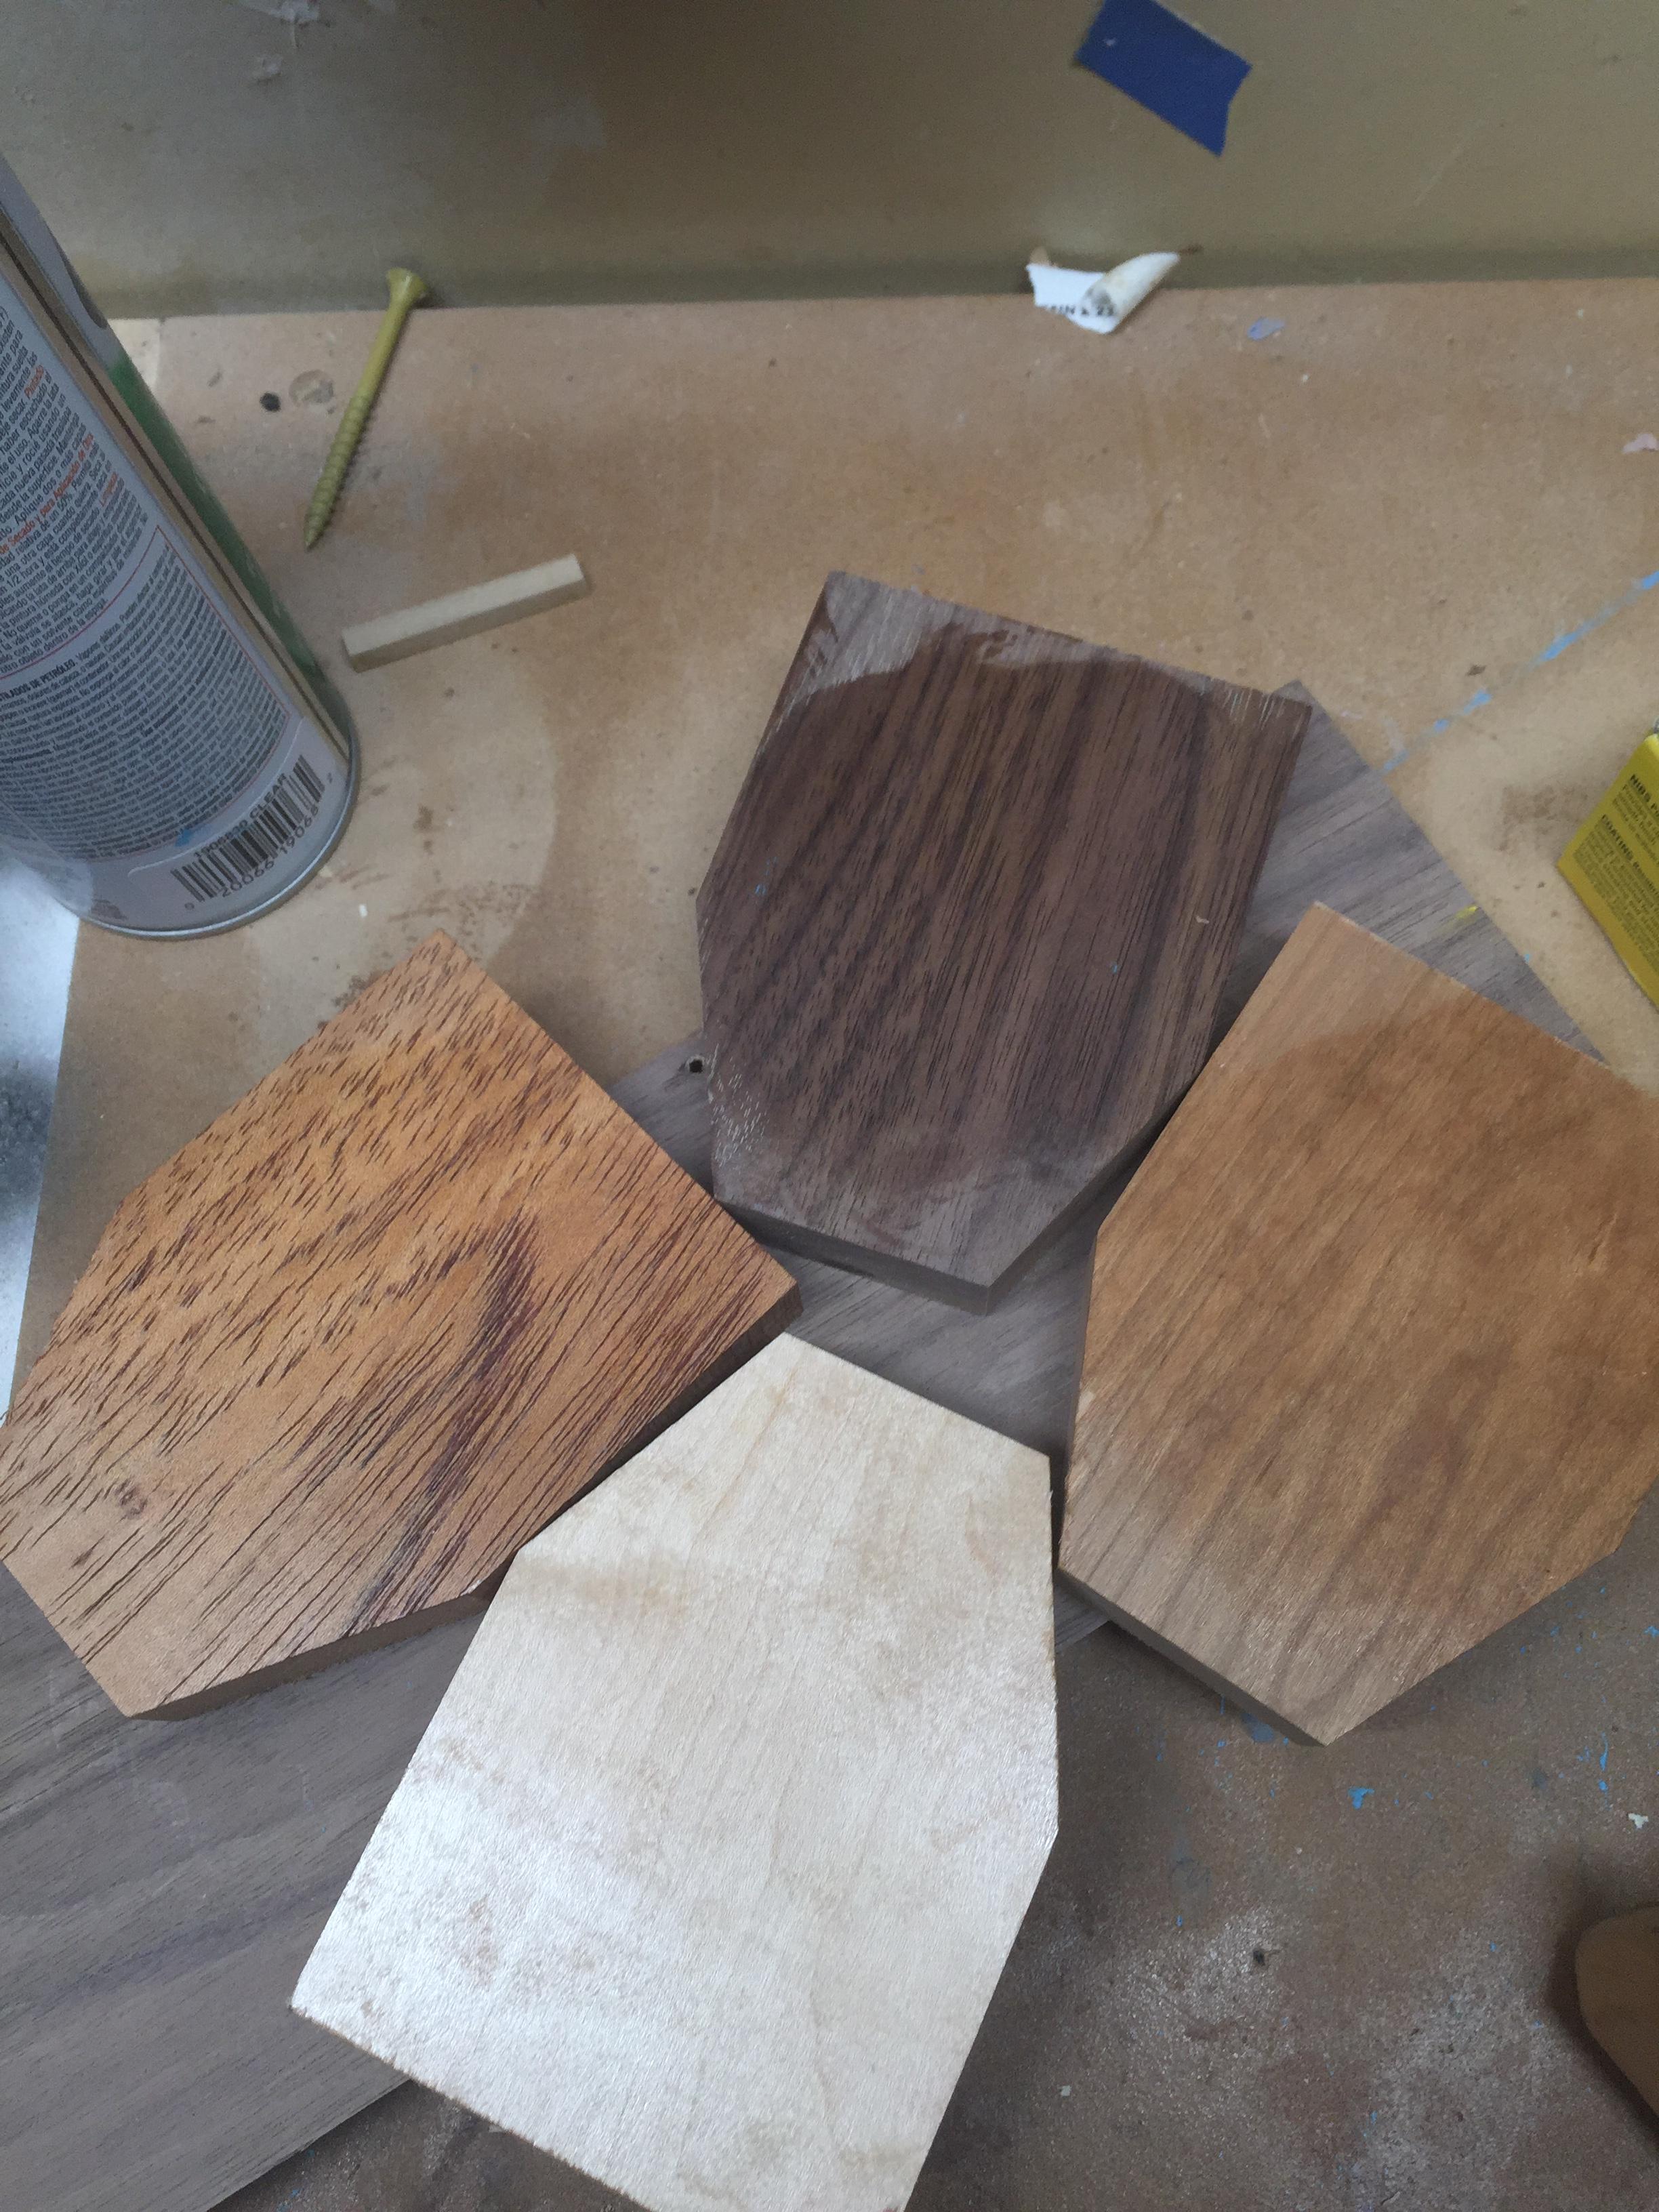
 After finalizing the image/graphic that would appear on the tap handles it was time to decide which type/s of wood would be used, the shape and dimensions of the tap handles, and whether any portions of the design would be painted with acrylic paint. Before arriving on the shape that you see on the left we considered using barrel staves, different wood stains to differentiate between the tap handles, and eventually decided to use different types of hard wood whose color would be matched up to the color of each beer on tap. In terms of dimensions we went with 3in wide by 4in tall because my tap faucets are between 3 and 3.5 inches apart.
 Without much knowledge about hard woods I first asked that the tap handles be mades using walnut, cherry, hickory, and red oak. However, after further discussion we ended up going with mahogany, walnut, maple, and cherry
 …Before laser cutting the cherry wood tap handle Nik realized that we was out of cherry wood and would have to go get more.
As with each step he asked me to confirm whether I definitely wanted to go with cherry wood or go with a barrel stave or different hard wood. After I confirmed my decision he cut the cherry wood tap handle and sent me a picture of the tap handles with a coat of wood oil to bring out the differences in color and wood grain.
Step Four: Finishing Touches
Before applying the finishing touches Nikolas sanded and did some edging on each handle and painted the stars of David blue. ..The finishing touches included installing a threaded insert into each tap handle and adding a coat of lacquer. As you may have seen in his video (linked above) he applied the lacquer by screwing each tap handle onto a long bolt/post to ensure even coating.
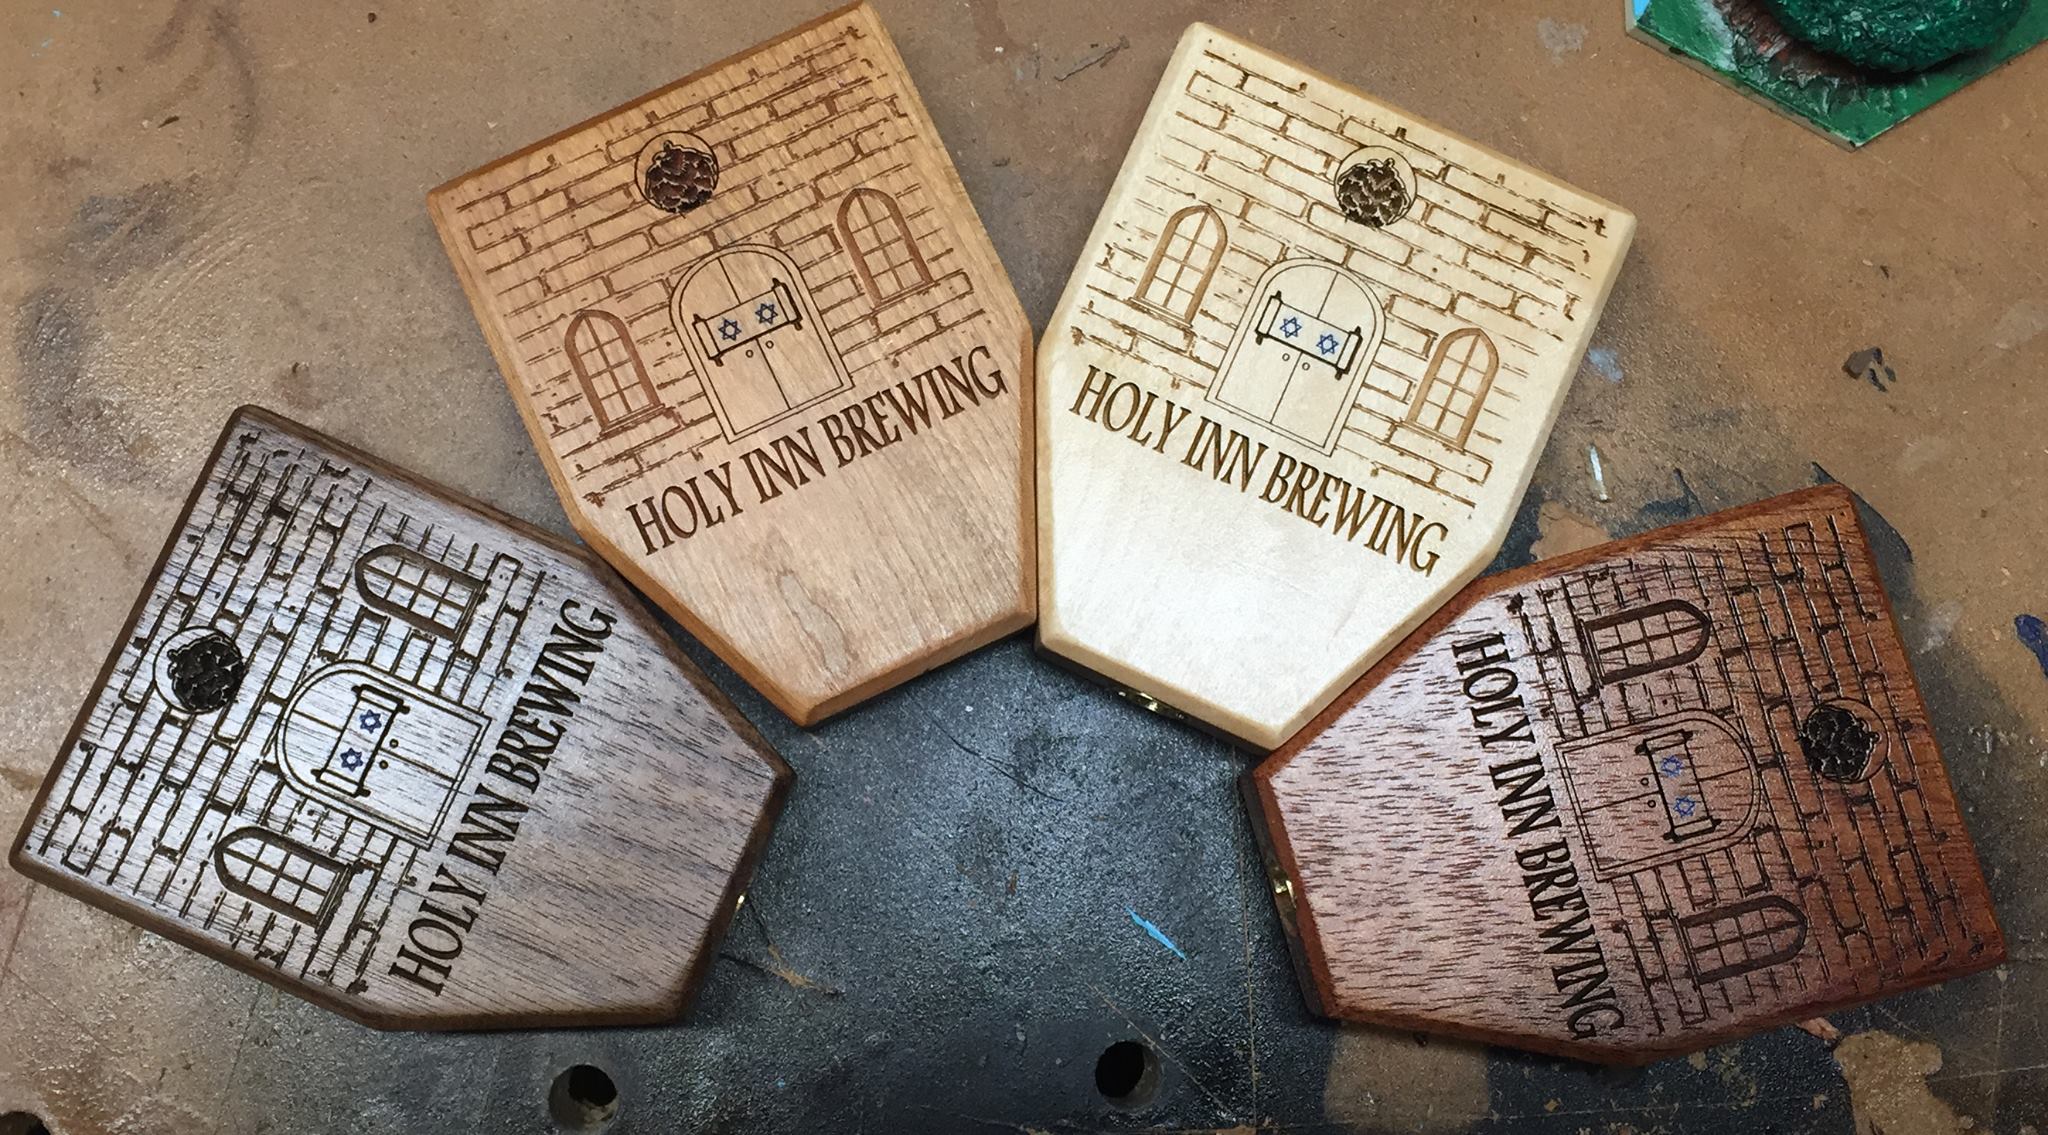 Once the finishing touches were completed and the tap handles ready for shipping Nik sent me a picture of the tap handles.
Step Five: Installing the tap handles

 A week after being shipped I received the tap handles and installed them immediately upon arriving home from work. Overall, they were easy to install however I did encounter the following two minor obstacles. Due to their flat shape I had to have my keezer lid open during the installation process. Secondly, upon reaching the point wear each tap handle was screwed on tight it/they weren’t facing forward. Therefore, after some tinkering with one of the faucets (Perlick 630SS) I figured out the I had to turn back the handle until it was facing forward and then loosen the compression bonnet until it was tightened up against the tap handle. As a side note, one obstacle that I thankfully did not encounter was there not being enough space in between each handle. At 3 inches wide I was left with 1/4 to 1/2 an inch in between each handle i.e. I do not have to worry about accidentally pulling two handles at ounce.
Step 6: Enjoying the experience of having custom tap handles
Shortly after installing the tap handles I filmed this week’s episode of Homebrew Wednesday which includes an intro clip of me pouring a bit of each beer into a snifter to show how I matched up each tap handle with the color of the beer pouring from its faucet and a clip of me installing the cherry wood tap handle…Then while editing the video clips I enjoyed the beers that I had just poured.
As I adjust to having custom tap handles in the coming days I’m sure I’ll pause for a moment to admire them each time I enter my kitchen. However, because home-brewing is both an individual and a communal experience I’m sure that most of the enjoyment that I’ll gain from the new tap handles will come from my pouring beers for my family members and friends… Lastly, I’d like to thank Nik Stevens for being so easy to work with and for being patient with me when my excitement led to extra Reddit messages and emails asking for updates on the progress and whereabouts of the my tap handles.
Cheers and Keep on brewing great beers!