
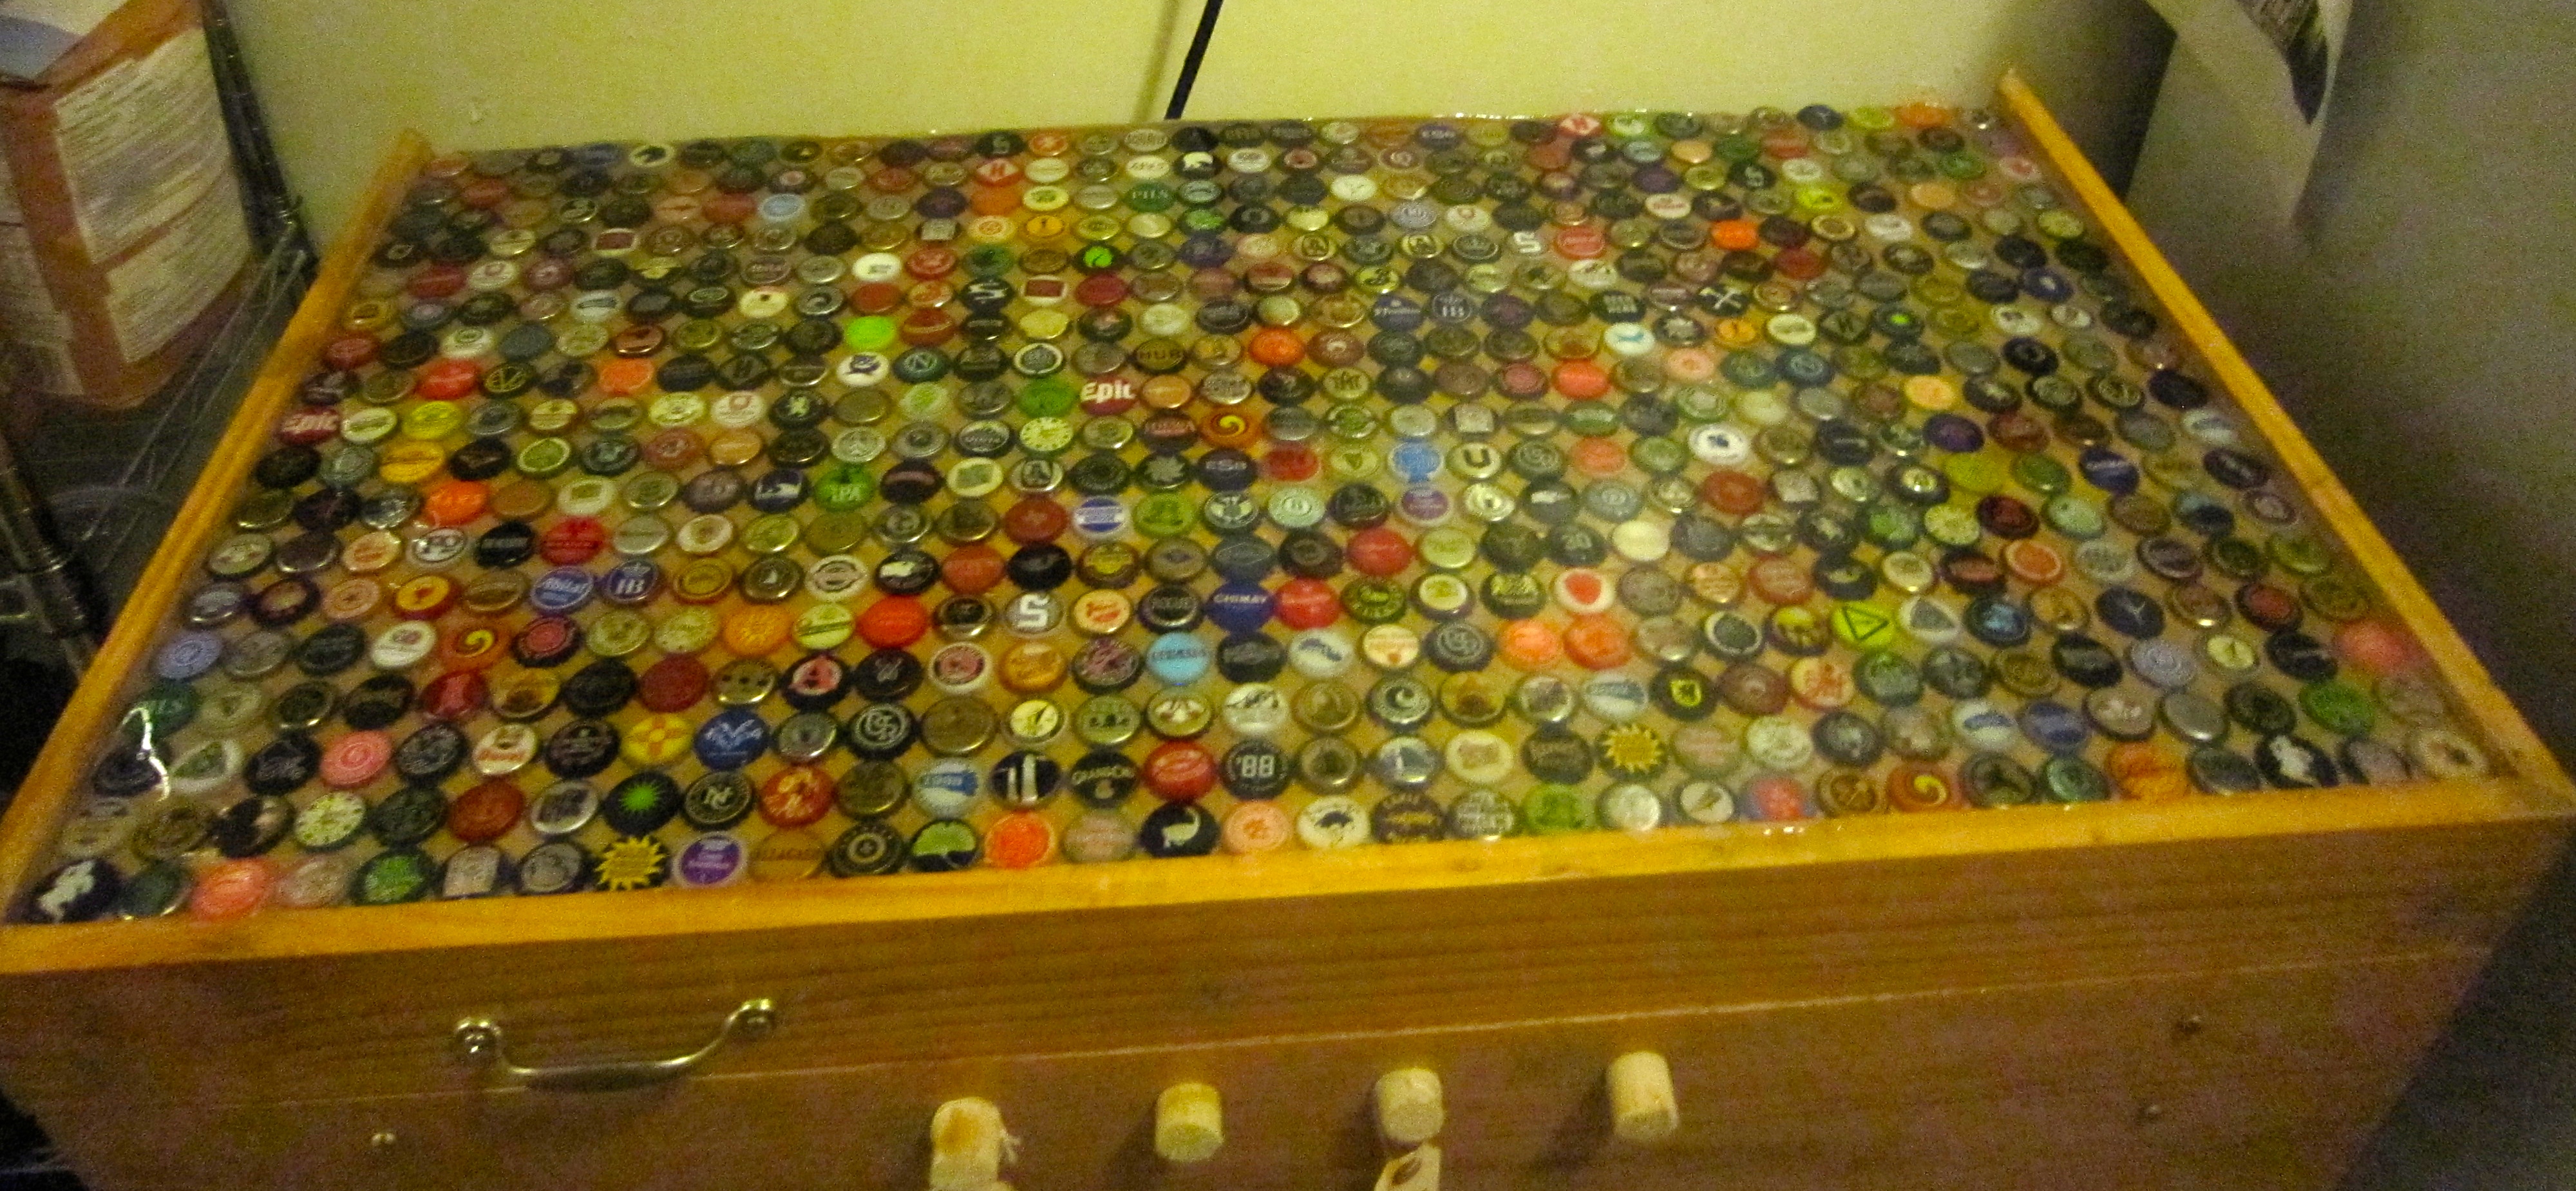
 After much stalling and waiting for some more beer caps to add variety I finally completed my keezer lid’s beer cap bar top my filling it with clear epoxy. As you’ll see my biggest obstacle was maintaining a sealed border along the back side of the lid which has no wooden lip and a number of caps sticking over its edge. In turn, this video includes both the steps that I took to complete this project and the up and downs of doing so.
Beer Cap Bar Top Tips:
- Secure all caps with super glue.
- Seal edges silicon when needed (see my keezer build videos)
- Do NOT let caps stick over the bar top / keezer lid / table’s edge/s (when no wooden lip is present).
- Pour clear epoxy mixture (I used Parks Super Glaze: Ultra Gloss Epoxy) in the center of your “bar top” and led it spread out and begin to self level before using a wooden paint stir stick or plastic putty knife to spread it around.
- Use rubbing alcohol or a lighter to pop air bubbles.
- After final coat is applied wait a week for the epoxy to completely harden / set before you put beer glasses etc on top of your new beer cap bar top or table.
- Follow the instructions that come with the epoxy.
- Watch the above video for the materials that I use for a border and proceed with caution. I assume that my having caps stick over the edge was the main cause for the leakage that I experienced, but I could be wrong.
- Use rubbing alcohol to remove epoxy from your hands and other surfaces.
I hope this full length video is useful for all those who hope to create a beer cap bar top in the future. Cheers!


Pingback: Follow Up: My NYC Apartment’s Brewing Constraints. |