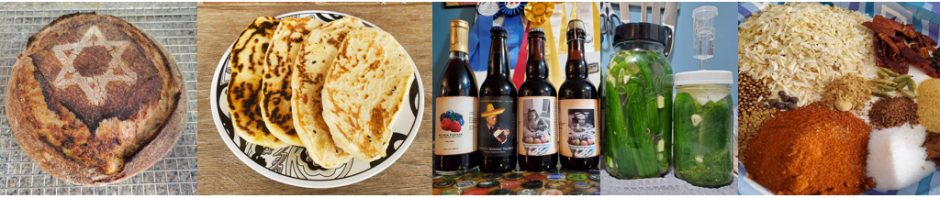
Before I get into the topics that I’d like to cover in this post I’d like to thank those that checked out yesterday’s Homebrew Wednesday blog post, especially those who followed the link that I posted in the homebrewing sub-reddit. In total thebrewedpalate.com received 1,732 views (hits). In other words my blog received the most views that its ever received in a single day. I should admit that as I saw the number creeping up I couldn’t help myself from refreshing my stats page as often as possible. I was so amazed that a short video showing an example of what I’ve been able to cram into my Washington Heights (upper west side of Manhattan, NYC) one bedroom apartment could garner so much positive feedback.
Fast forward to this morning…After reading over and responding to some of the comments that were left on my homebrewing sub-reddit post I realized that I should probably put together a follow up post about exactly what my current constraints are and how I’ve been able to consistently brew 5 gallon all grain batches within those constraints…
My current brewing and serving equipment:
 Brewing:
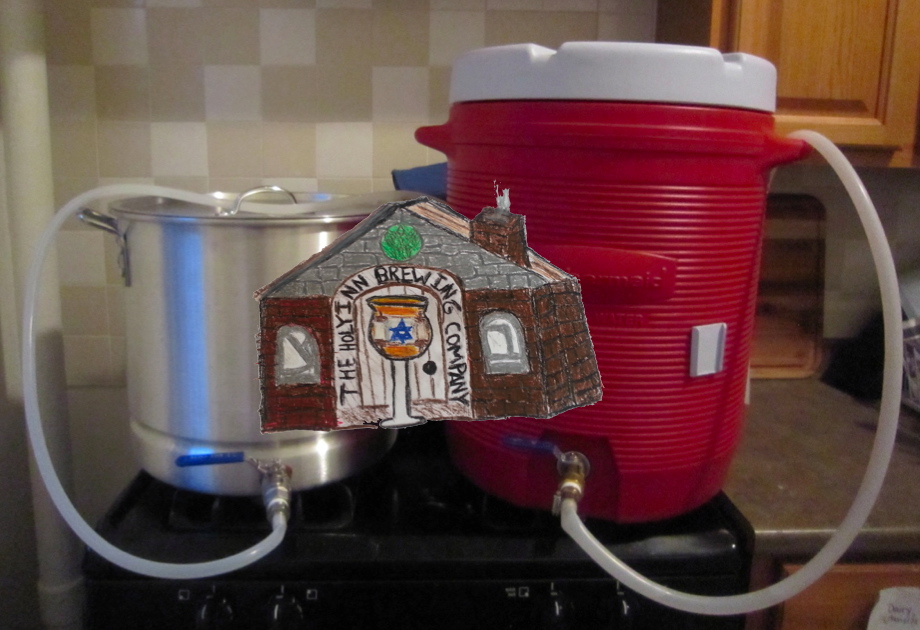
- Two 10 gallon mash tuns: A DIY Rubbermaid 10 gallon cylindrical cooler with a CPVC manifold AND my new Ss Brewing Technologies InfuSsion mash tun.
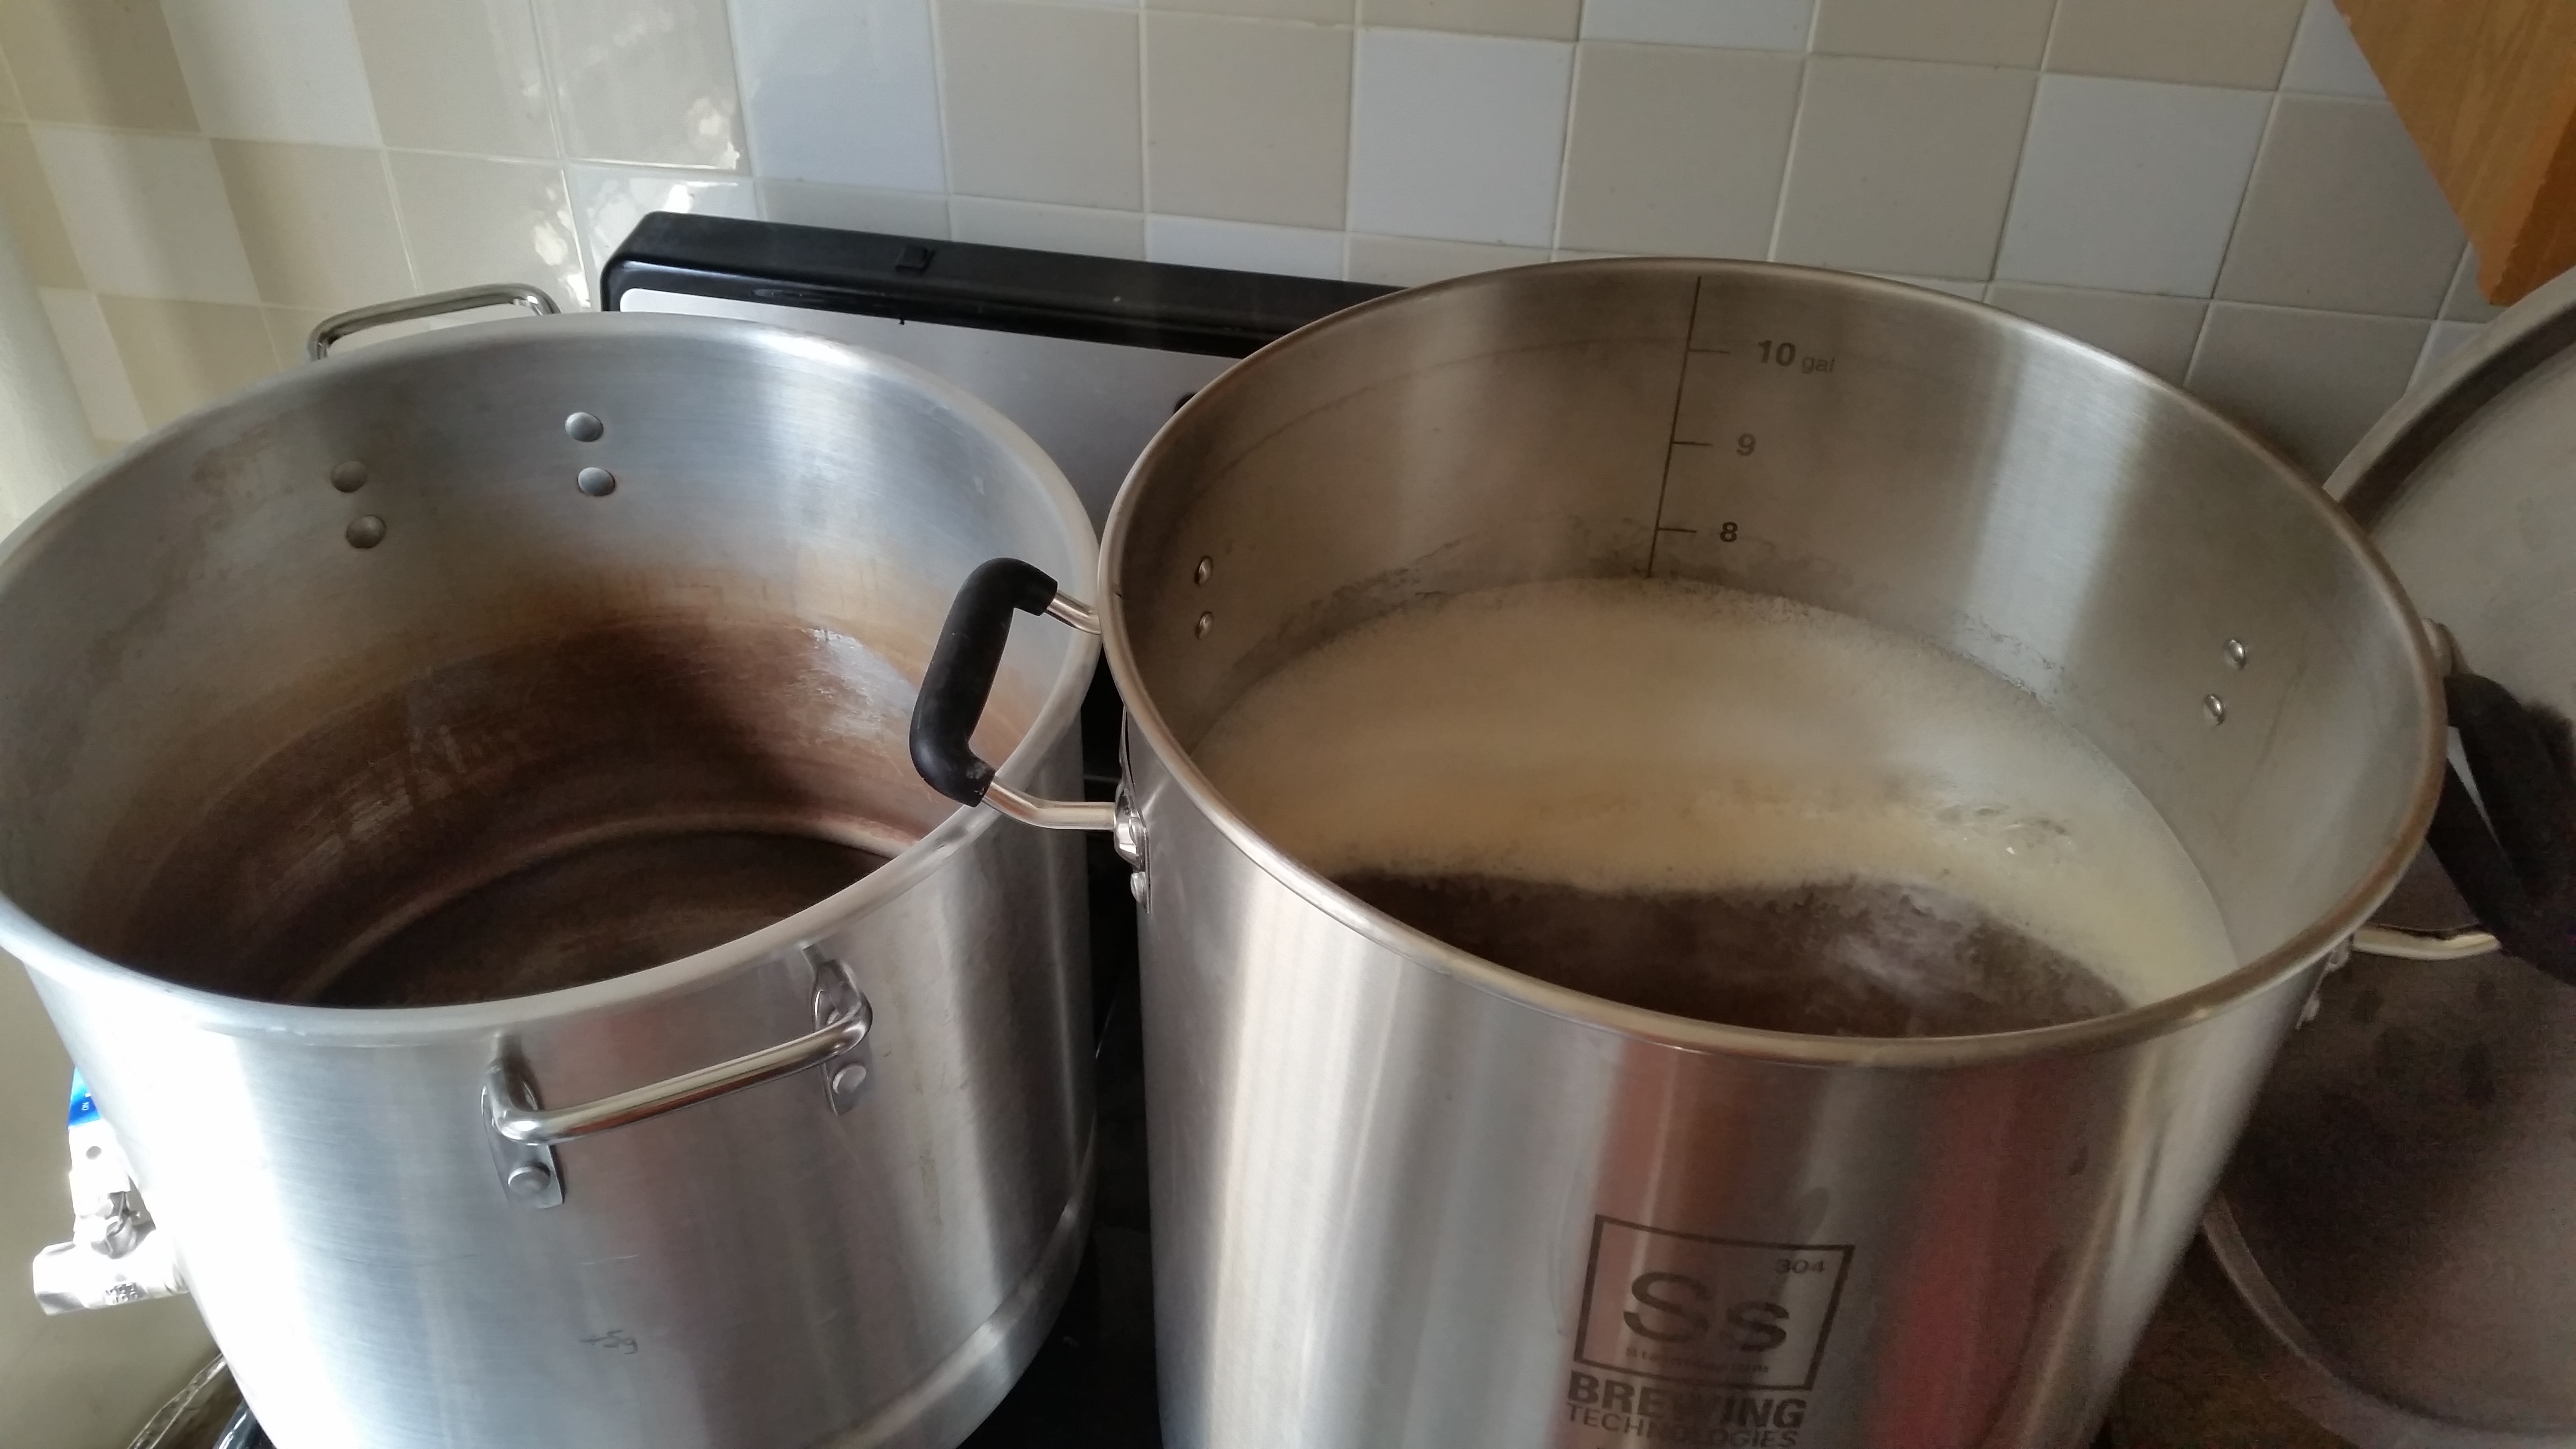
- Two 10 gallon kettles: A 40qt aluminum pot w/ a 2-piece ball valve (currently my HLT) and my new Ss Brewing Technologies kettle w/ a 3-piece ball valve and dial thermometer.
- Tubing: Thick 1/2in silicone tubing with quick disconnects from Brew Hardware.
- Chilling: 25 ft copper immersion chiller with garden hose fittings and a submersible pond pump to expedite chilling.
Fermentation:
 Fermentation vessels: 3 6-gallon PET carboys, 1 5-gallon PET carboy, 2 3-gallon PET carboys, and 2 1-gallon glass demijohns AND my fermentation fridge which can fit one carboy with a blow off tube (#10 rubber bung, plastic barbed elbow, and thick walled vinyl tubing). In needed I have a plastic tub that I use for a swamp cooler.
 Serving:
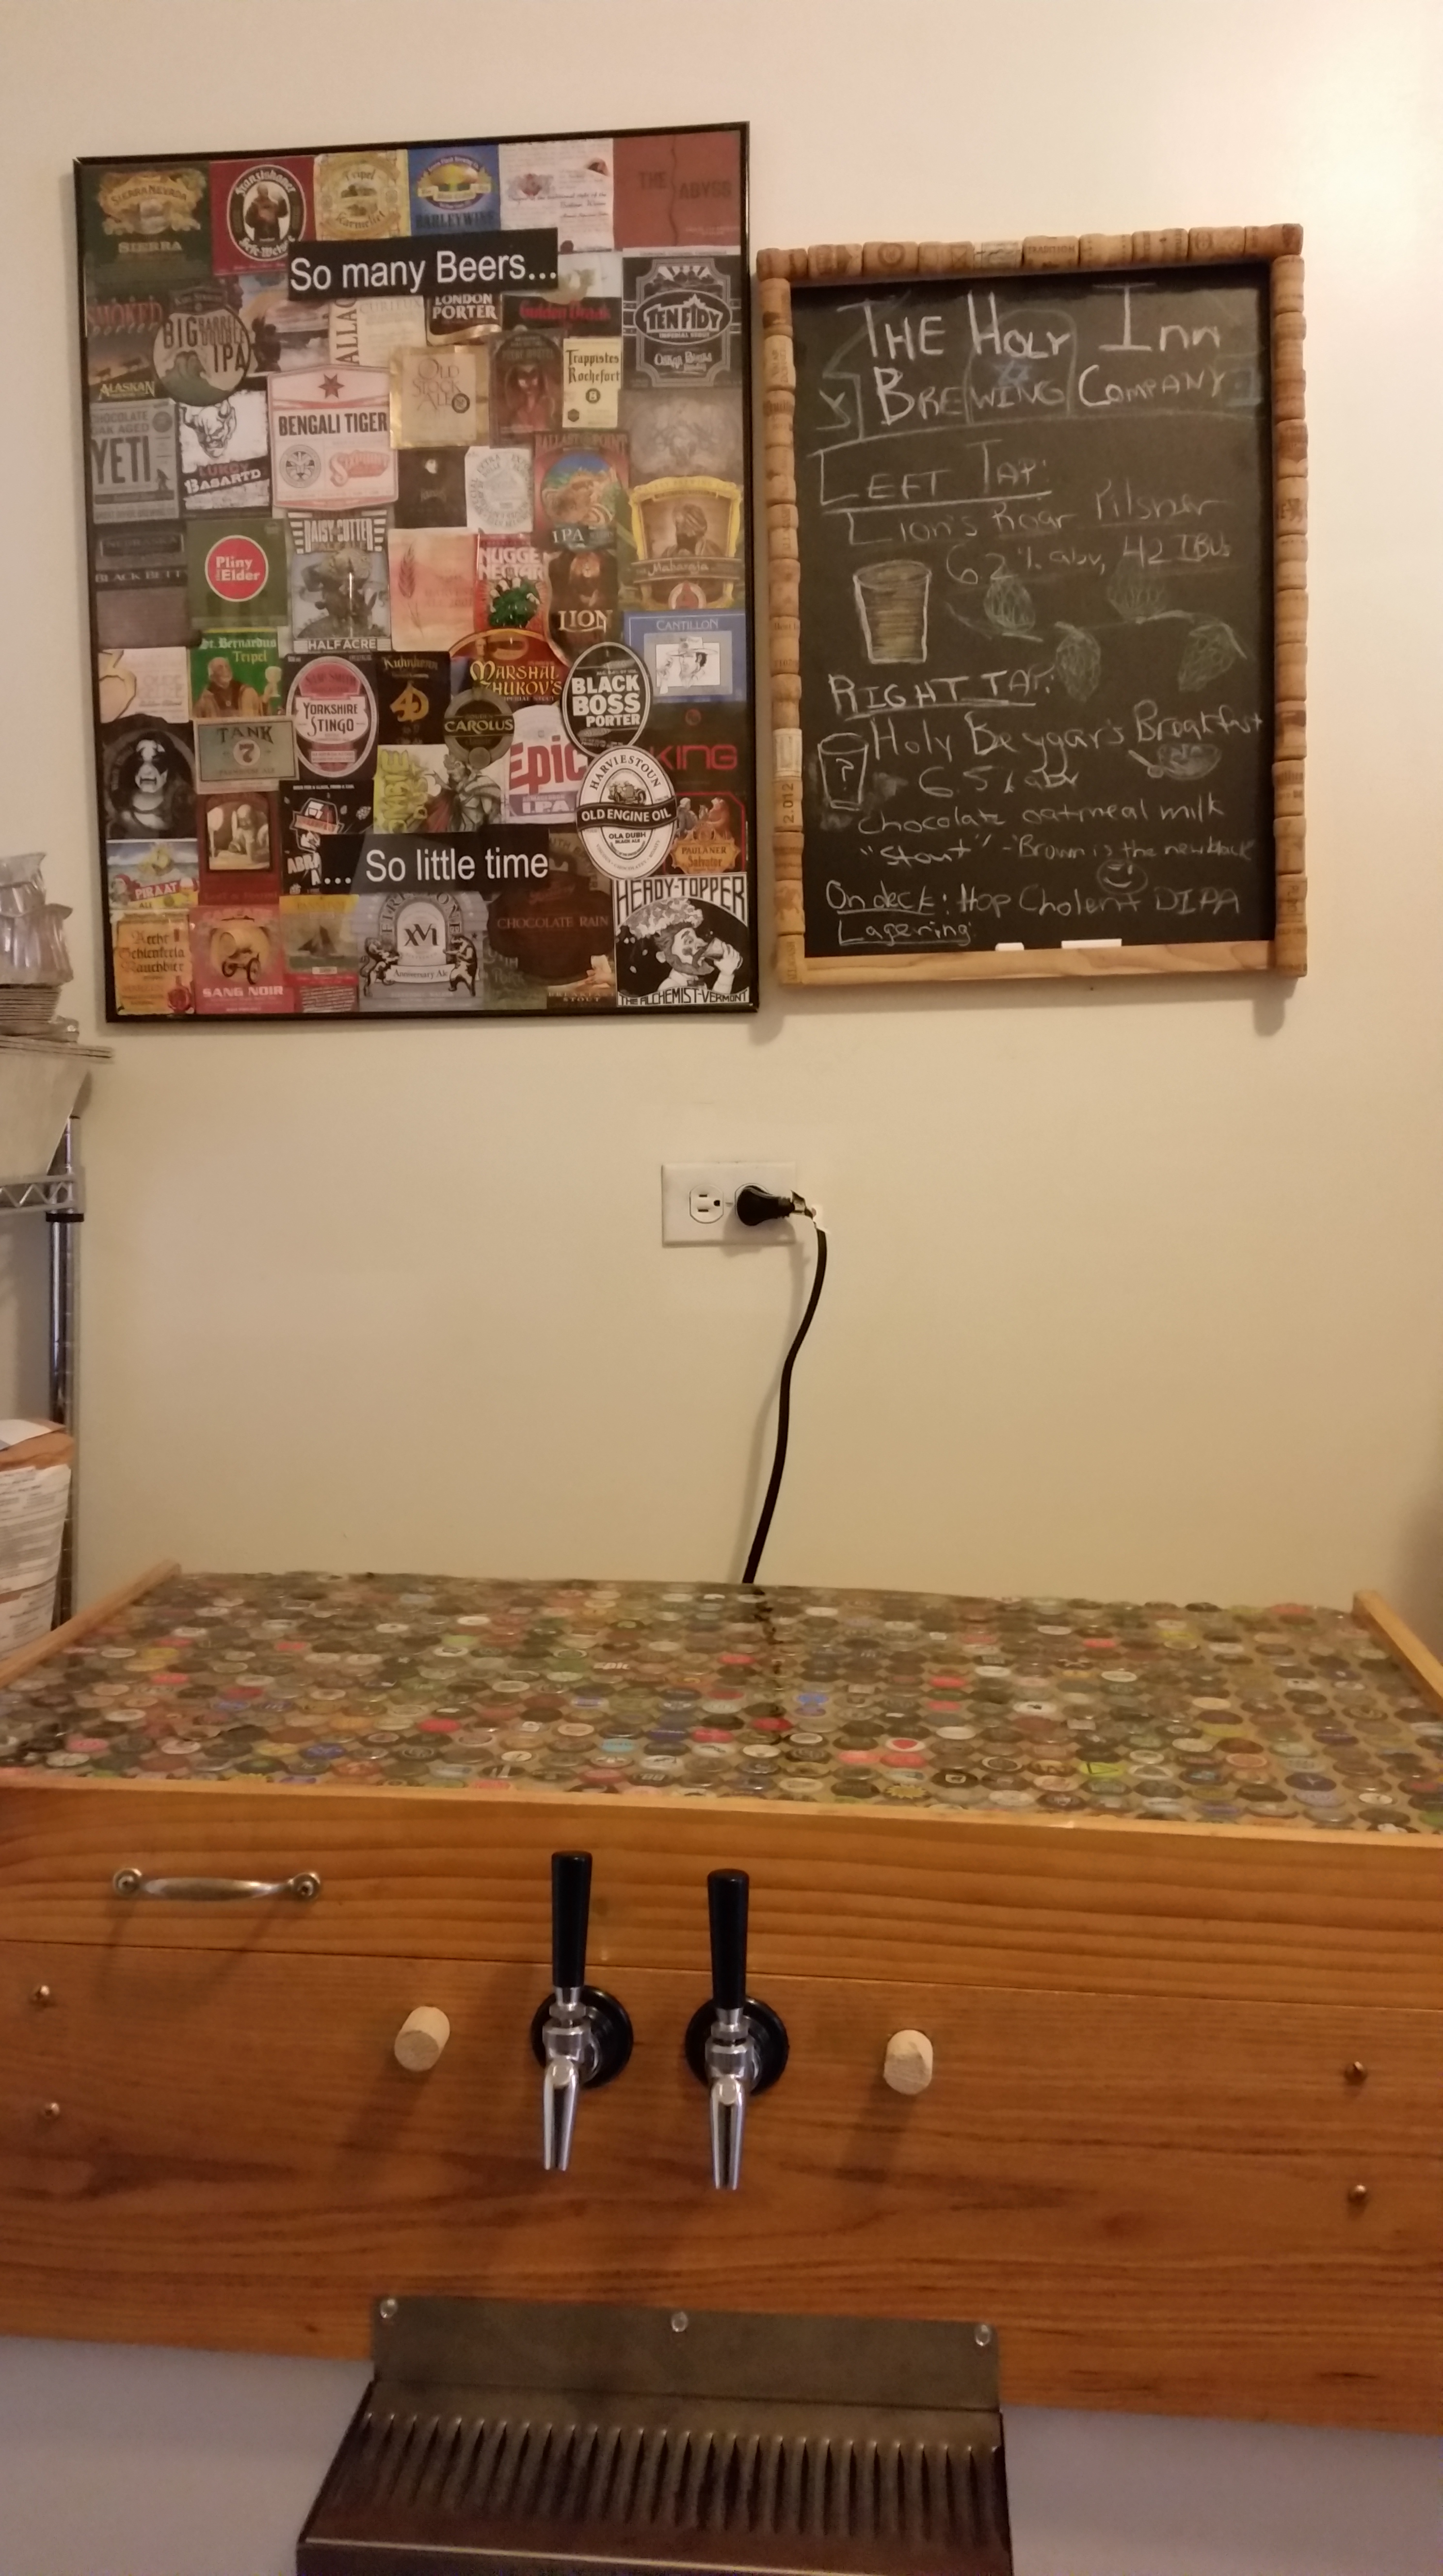
Keezer: 7-cubic foot freezer with 2 Perlick faucets, a drip try, beer cap bar top, primary and dual secondary regulators (one of which has a stainless steel splitter), fits 4 ball lock corny kegs, Eva-dry E-500 Renewable Wireless Mini Dehumidifer, STC-100 temperature controller.
Bottles: I either bottle from my kegs using the poor man’s beer gun method or bottle condition (Belgian beers, sours, and sometimes “big beers”).
My space constraints:
- Storage: I store some of my fermentation fridge, equipment and most of my packaged beer in a hallway closet which is supposed to my coat closet and stacked along my hallway walls (as seen in yesterday’s post)…
- My Kitchen: Many homebrewers who commented on yesterday’s sub-reddit post mentioned how small their kitchens are and how they have difficulty maintaining and or reaching a boil on their stoves. In my case I’ve been blessed with a fairly large apartment kitchen where I am able to house (store) my keezer and brewing vessels. Also, though my boil off rate isn’t that great I’m able to maintain a boil on my gas stove that’s adequate enough for me to not have too much difficulty reaching my target original gravity. However, on brew day I have run into some issues that relate to having space constraints. Therefore, I’ll describe my brewing processes in terms of adapting them to my contraints…
My current brewing processes:
- Heat up strike water 10-15 degreesF higher than my target mash-in temperature in my boil kettle and then transfer it to my mash tun so I can heat it up before doughing in.
- Mash in for a 60-75 minute mash (unless my recipe calls for step mash).
- Vorlauf and collect first runnings. Constraint 1: Due to my lack of counter space I place my mash tun on a dining room chair and face its ball valve towards on oven because otherwise I’d have to step over my tubing while collecting my wort.
- While collecting my first runnings I heat up my mash out water in my HLT and add it to the mash tun once I’ve collected my first runnings.
- Once I see that I’ve successfully raised my mash temp to 168F I leave it for a 10-15 minute mash out rest. All while heating up my sparge water in my HLT.
- After the mash out rest is over I vorlauf once again using my perforated turkey fryer pan and 1-gallon plastic jug and then begin collecting my second runnings.
- Once I’ve collected my first 4 gallons I hoist/lift up the collection bucket and pour the runnings into my Ss kettle and start bringing them to a boil. Constrain 2: This may be a personal and not much of a space constraint, but I do not currently own a pump to transfer wort and water between vessels and after 2 years of brewing in my current apartment I’m still lifting vessels of hot and cold liquid. While purchasing and utilizing one wouldn’t take up too much space, it would probably take a few brew days to adapt my having a pump to my current brewing processes.
- Once I’ve collected my full boil volume I stir the wort to homogenize it and take a preboil gravity sample. I should note that I sometimes wait to add my last 1/4 to 1/2 of a gallon of wort until after taking my first preboil gravity reading.
- Contraint 3: Depending on how much wort I collect (I usually collect 7 gallons for a 90 minute boil) and how hot the first four gallons are by the time I’m done collecting the rest, it takes at least 20-25 minutes for the wort to reach a boil on my gas stove. Especially because my Ss Brewtech kettle only fits on one burner.
- Once the boil is over I use my immersion chiller (added at 10 minutes remaining mark) to chill my now hopped wort down to 100 degreesF. Then to overcome a “constraint” that many homebrewers have when using an immersion chiller. I put my submersible pond pump in a fermentation bucket, fill it halfway with cold water, rearrange my chiller’s hoses for use with the pump, and keep adding ice until I’ve reached my target pitching temperature.
- I then transfer my wort a sanitized 6-gallon PET carboy, cover it with a sanitized piece of tin foil, and carry it into my hallway.
- To aerate my wort I attach a straightened wire hanger to my drill. Once done I pitch my yeast (always a starter) and put the carboy in my fermentation fridge with its boil off tube and a 2 quart mason jar filled halfway with StarSan solution.
So there you have it. While my current constraints aren’t as limiting as most city dwelling homebrewers I’m quite proud of the beers that I’ve brewed since October 2013 (when I brewed my first batch in my current apartment) and appreciate of how much knowledge I’ve gained by sharing my homebrewing experience with both my fellow NYC homebrewers and those that I’ve met / been in contact with through social media. In addition, I’d be remised if I neglected to mention that a major part of why I’ve been able to make the best out of current brewing constraints is that I have an amazing wife who supports my passion for brewing.
I hope this post gave you a better picture of where I stand in terms of brewing in my Washington Heights, NYC apartment and that its content is useful to at least some of my fellow city dwelling homebrewers. Cheers and Keep on brewing!