
Before we get to the recipes, I’d like to define the two most popular vegetable fermentation methods:
Lacto-fermentation (according to The Spruce Eats)
The good bacteria on the salt-tolerant team are called Lactobacillus. Several different species within this genus are used to produce fermented foods. Lactobacillus bacteria convert sugars naturally present in fruit or vegetables into lactic acid. Lactic acid is a natural preservative that helps fight bad bacteria and preserves not only the flavor and texture of food but also its nutrients.
In stage one of lacto-fermentation, vegetables are submerged in a brine that is salty enough to kill off harmful bacteria. The Lactobacillus good guys survive this stage and begin stage two.
In stage two of lacto-fermentation, the Lactobacillus organisms begin converting lactose and other sugars present in the food into lactic acid. This creates an acidic environment that safely preserves the vegetables – and gives lacto-fermented foods their distinctive tangy flavor.
Vinegar Pickling (according to wellpreserved.ca)
These are the easiest pickles to make! Vegetables, fruit or protein (i.e. eggs) are covered in brine (which is sometimes heated). Eaten fresh or stored in the fridge for weeks or months, these pickles tent to be crunchy as they are barely cooked and are easy to experiment with.
The taste: These tend to be acidic and are generally more subtle than other pickles due to the short time it takes to create them. You can experiment wildly when creating these!
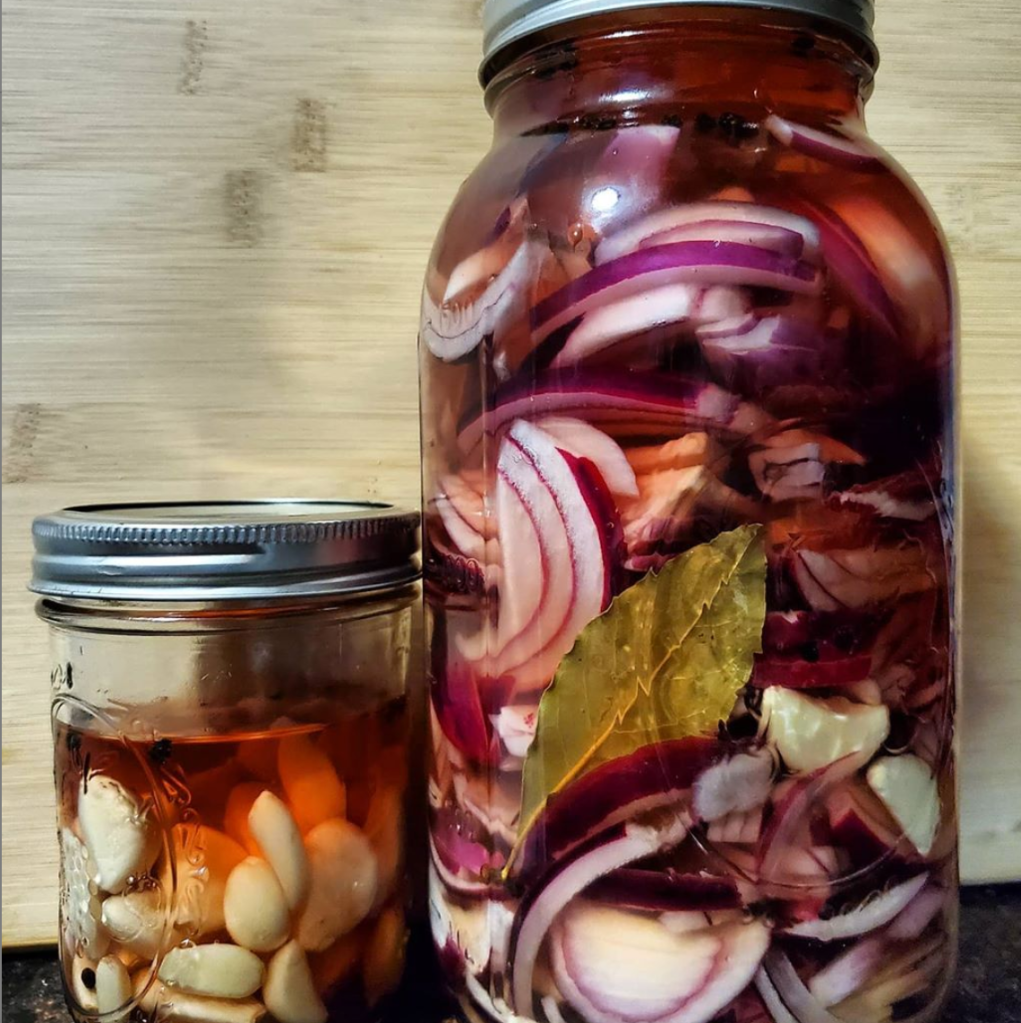
The basics: Making quick pickles isn’t complicated – equal parts water and vinegar with honey to taste. Add a dash of salt and any flavouring ingredients you wish (hot pepper flakes, dill, garlic and ginger are all great). Bring to a simmer, toss vegetables (or anything else) into the brine, immediately remove from heat and cool! We do this often for dinner and eat pickles the same night we make them. If you’re not in a rush you can dissolve salt and a sweetener (if desired) in the vinegar, add the water and spices, and pour the mixture over your veggies (e.g. sliced red onions, sliced cucumbers, and par-cooked beets).
Key points: 1) The three recipes that I’ve chosen to share in this article were chosen because at their core, the methods used to prepare and ferment/pickle them can be applied to many similar recipes. I will break them down accordingly to drive this point home even further. 2) Because everyone has different sized jars or fermentation crocks, I’ve chosen to share each recipe as a series of steps rather than a list of ingredients followed by a list of instructions.
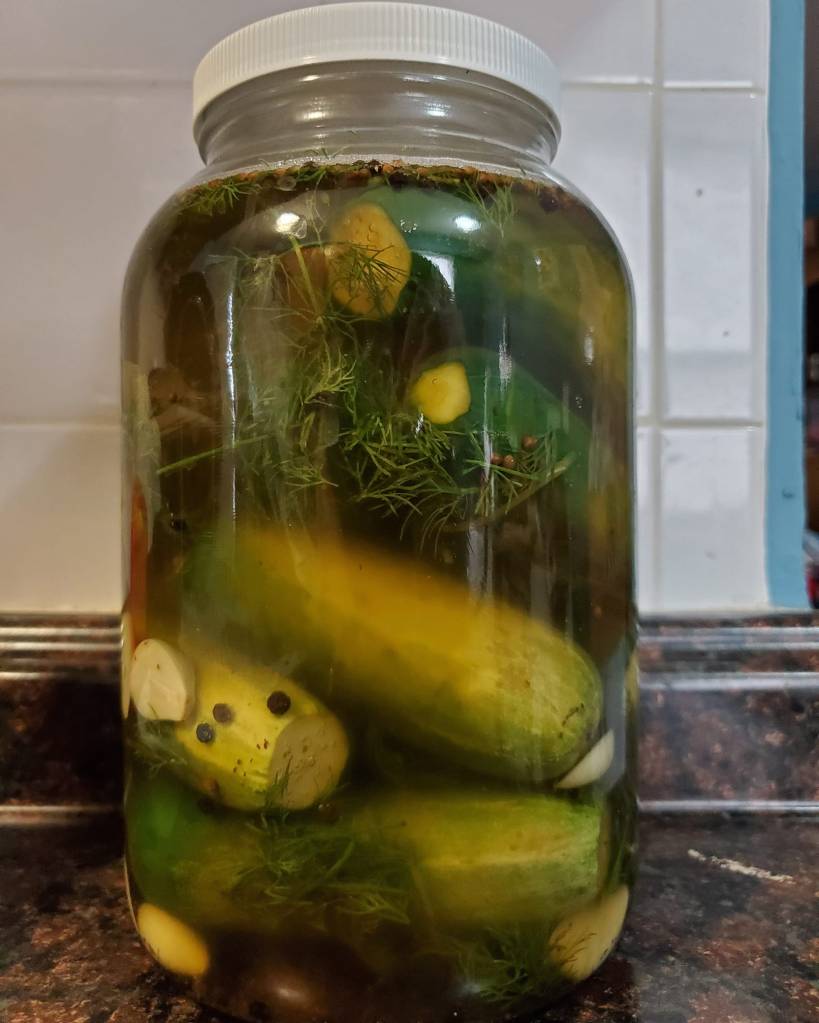
Recipe #1: Lacto-fermented Dill Pickles
In order to fully experience flavors contributed by the dill, garlic, and other common pickle spices, I feel that nothing beats a homemade batch of lacto-fermented pickles. However, while I haven’t tried making a vinegar brined “quick” version of this recipe; I’m quite certain that it would taste much better than store-bought “dill pickles.”
Step 1: Make your brine – For every liter of warm filtered water dissolved 2 tbsp of good quality coarse sea salt. – This brine can be used to simplify many of your basic vegetable fermentations. Others may benefit from a 2-3% by weight brine.
Step 2: Prep the cucumbers – Cut off a bit of the blossom end of each curby (pickling) cucumber. If you’d like to keep your cucumber whole you can poke each end with a toothpick. Doing this allows the brine to work its way into the cucumbers as fermentation progresses and some say it prevents you from ending up with mushy pickles.
Step 3: Gather your spices and seasonings – Because I’ve made these pickles so many times I tend to eye ball each ingredient. However, best practice would be to start with the following: 1-2 tsp of each of black peppercorns, white or yellow mustard seeds, and coriander seeds / 6 cloves of garlic (peeled and sliced in half) and 1 bunch of fresh dill (roughly chopped)/ 2-3 dried bay leaves. Then depending on how big of a batch you’re making, you can use more of less of each of the spices and seasonings.
Step 3: Assembly – Add a little bit of dill and garlic to the bottom of your fermentation vessel followed by pinch or two of each of the spices. Then add a layer of cucumbers and 1 bay leaf. Continue layering until you’ve reached about 80% of your vessel’s capacity. Then slowly pour in enough brine to submerged the cucumbers. If you’ll be use a fermentation weight to keep them submerged, I’d recommend leaving a little more headspace for brine displacement.
Step 4: Start of fermentation – Loosely cover your fermentation vessel to keep dust and wild yeast out and allow CO2 to escape. If you’re using a Mason of similar jar you can tighten the lid most of the way and loosen it (burp it) 2-3 times a day to prevent too much pressure from building up in the jar. The amount of time that it takes to see visible signs of fermentation (bubbles) tends to vary, but in most cases it takes 12-24 hours. Place your vessel in a relatively cool dark place. The warmer the spice, the faster fermentation will progress.
Step 5: Fermentation progress – One sign that fermentation is progressing nicely is that the brine will become progressively cloudier over time (usually after the first 2 days of fermentation). Next, when I first started making dill pickles I would try my first pickle after 4-5 days and I’d recommend that you do the same. If the pickles aren’t sour or flavorful enough then let them ferment longer. Lately I’ve been tasting my pickles on day 6 or 7 and have waited up to 14 days before putting them in the refridgerator.
Rinse and repeat: This brine recipe can be used for fermenting many other vegetables i.e. choose and prepare your vegetable/s and seasonings, make your brine, combine, and ferment away.
Recipe #2: Whole grain beer mustard
This recipe is quite versatile in that you can choose which beer, type of mustard seeds, sweetener, and vinegar to use and still end up with a mustard that goes well with lots of sandwiches etc. When searching for easy to follow recipes online I found this one and most recently made 1.5x the recipe so that I could have yummy mustard in my fridge for a while (the beer and vinegar act as preservatives).
Step 1: Decide which mustard seeds (1 cup) and beer (5oz) you want to use – “yellow mustard seeds are more mellow, brown are spicier. If you’d rather not make a spicy mustard, use only yellow seeds. ” Both moderately hoppy and malt-forward beers can be used, but it’s easier to creat a balanced mustard with malt-forward (sweeter) beers.
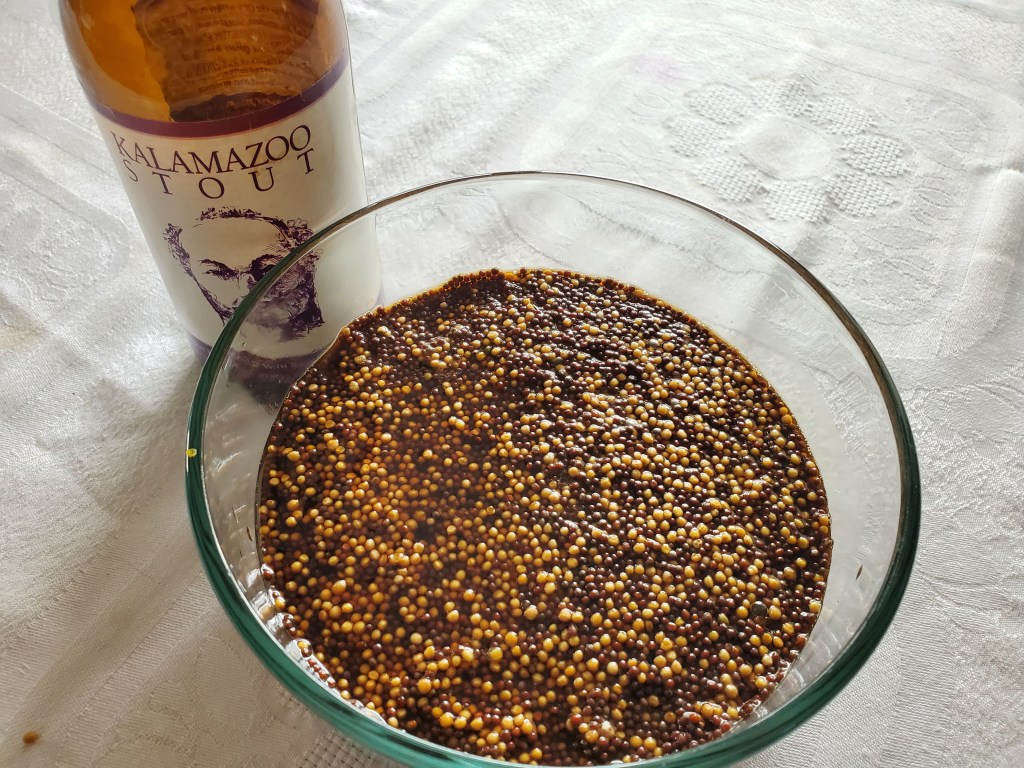
Step 2 – Overnight soak – I’ve found that using a mortar and pestle or electric spice grinder to grind a portion of the mustard seeds helps ensure a smoother final texture. So I’d recommend grinding 1/4 to 1/3 of the seeds, mixing them with the whole seeds, and then pouring in the beer. Stir to combine, cover tightly, and refrigerate overnight.
Step 3 – The final mix – Combine your vinegar of choice (8oz – apple cider, malt, red wine, distilled white etc), sweetener of choice (2 tbsp – brown sugar, honey, demerara sugar, agave syrup etc), sea salt (2 tsp), and any additional spices. Stir until sweetener and salt have dissolved and combine with mustard seed / beer mixture.
Step 4 – Overnight rest – While the recipe linked above calls for achieving your desired texture with a food processor prior to refrigerating the finished mustard overnight. My experiences have taught me to either grind a portion of the mustard seeds in advance or use a high powder blender that can grind the seeds efficiently. During the overnight the rest the flavors will meld.
Step 5 – Enjoy! – I’ve used my homemade beer mustard as a condiment for sandwiches, an accompaniment to fermented veggies and meats, and in sauces and marinades.
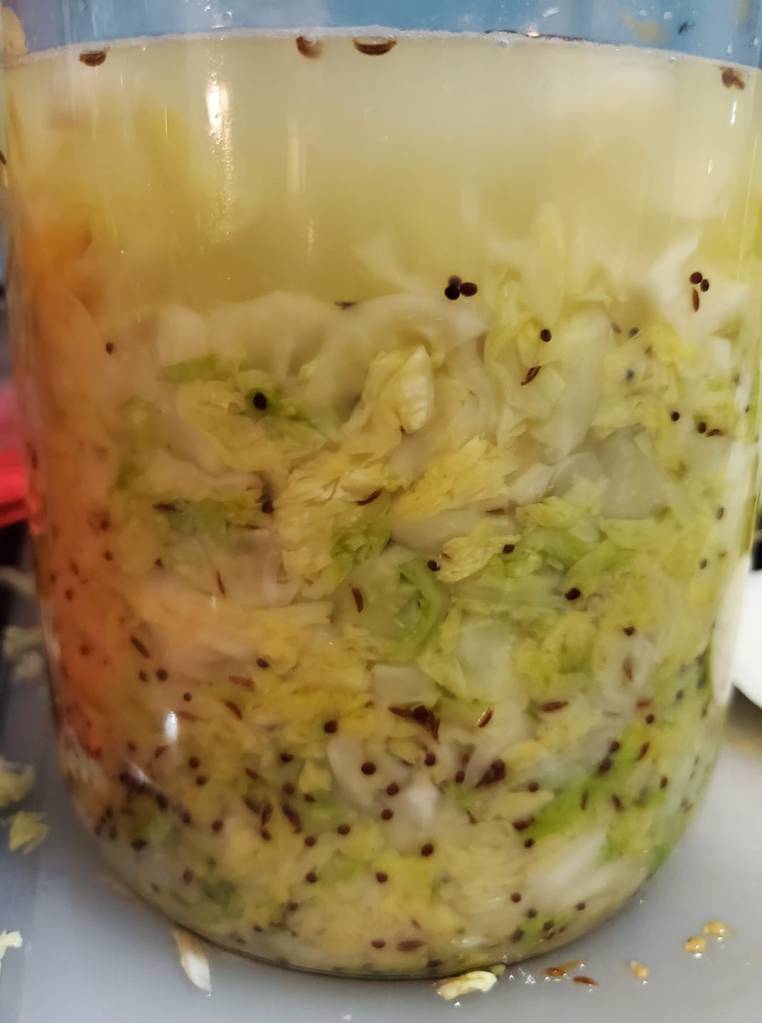
Recipe #3 Lacto-fermented sauerkraut
With a little big of “elbow grease” this simple two-ingredient recipe bares no resemblance to store-bought (vinegar based) sauerkraut in both texture and taste. Two factors that separates one recipe from the next are the amount salt and whether spices are added.
Step 1: Chop and salt – While you can use any type of cabbage for sauerkraut, white cabbage is traditional. For my most recent batch I used Savoy cabbage, a firmer white cabbage…Remove the outer leaves of your head/s of cabbage (don’t throw them out) and cut into quarters. Then make a diagonal cut to remove the hard core from each quarter. Now you’re ready to thinly chop your cabbage into strips and mix with 1 tablespoon of coarse (kosher) sea salt per pound. Note, if you only have fine sea salt then use 2% by weight of salt.
Optional: I like to add spices to my sauerkraut. Most often I add 1 heaping tsp each of caraway and mustard seeds per head of cabbage.
Step 2: Knead and rest – To create your brine, knead the salt into the cabbage for 3-5 minutes or until it starts to release some of its water. Let it rest for 10 minutes (15 if you have the time) and then knead some more. Once you’ve accumulated about a cup worth of brine, transfer to your fermentation crock or jar, add your reserved outer cabbage leaves) and compress the cabbage until there’s 1/2 to 1 inch of brine on top. Then add your fermentation weights/s and compress a bit more. Note: If there still is not enough brine over the cabbage, you can make and then top it up with a 2% salt brine solution (e.g. 100g water and 2g of coarse sea salt (about 1 heaping teaspoon).
Step 3: Start of fermentation – Seal your fermentation crock or jar with airlock lid (following manufacturer’s instructions). Note if you only have standard ball (Mason) jar lids, you can use them. Just screw them on all the way and then loosen back a bit to let CO2 out. Place in a cool, dark place; 65 to 70°F (18 to 21°C) is ideal. After a 1-3 days, the fermentation process should start and bubbles should be visible on around and on top of the cabbage. Keep an eye out for overflowing brine.
Step 4: Fermentation TLC – Once fermentation kicks off, keep an eye on it and open your fermentation vessel to push the cabbage back down below the brine if needed. As during the preparation stage, if brine level gets too low, you can top it up with more 2% salt water solution. However, be careful not to open your vessel too often, as doing so increases chances of mold growth. If mold does grow on the surface, carefully scrape it off and continue to ferment your sauerkraut. Note: Some sulfurous smell is natural, but anything truly offensive is a bad sign.
Step 5: Is it ready yet? – Your sauerkraut is ready to eat when it is reaches your preferred level of sourness, which can take anywhere from 3 to 6 weeks. Personally, I usually taste my sauerkraut after 3 weeks and then let it ferment for another 7-10 days if it is not sour enough. Refrigerate in sealed containers for up to 6 months.
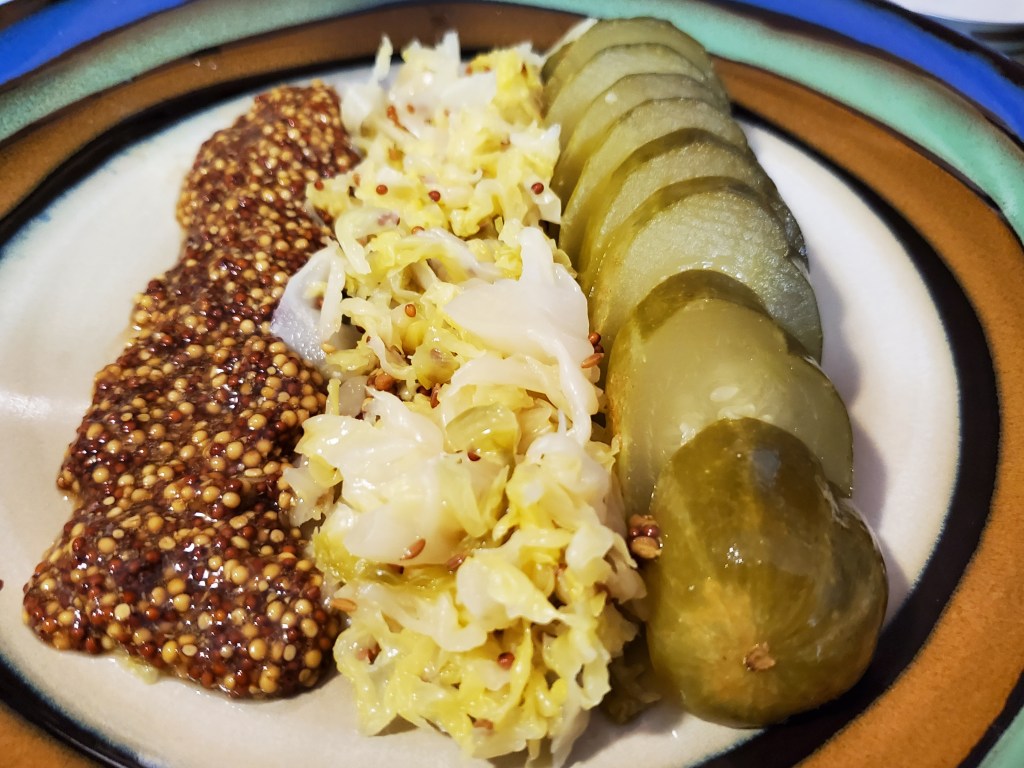
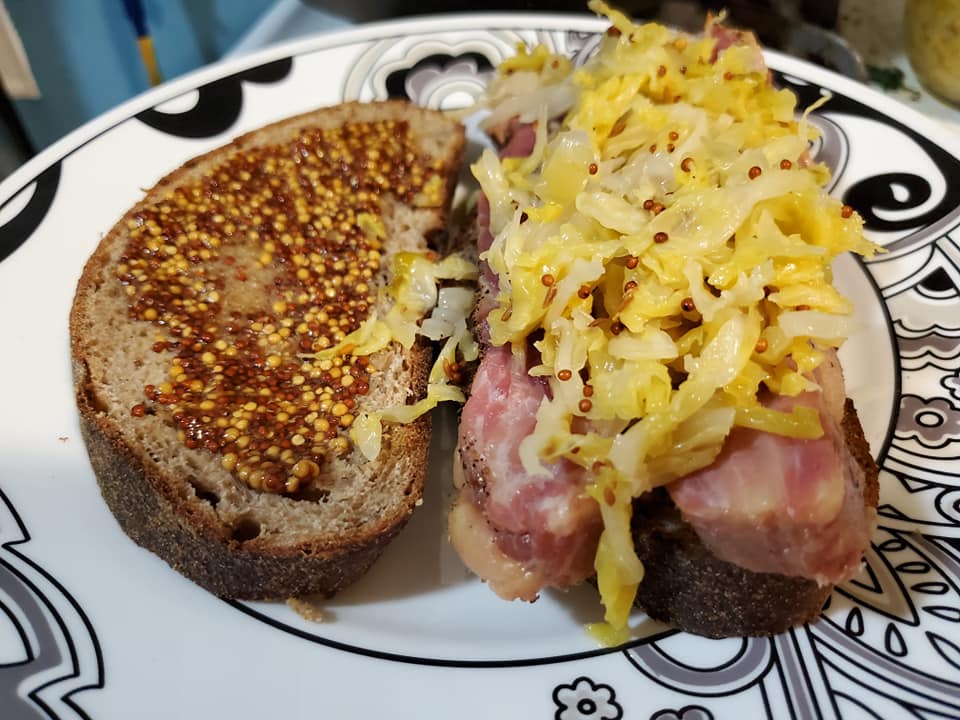
Step 6: Enjoy! – I love eating sauerkraut along side other fermented vegetables, whole grain mustard, and toasted sourdough rye bread. Though my favorite way to eat it is on a sandwich (sourdough caraway rye bread) with corned beef, whole grain mustard, and lacto-fermented pickles. Note: This method of brine production is also used when making kimchi.
Happy fermenting!!!


excellent blog !! time to find ya on IG !!