When getting started with sourdough baking finding a sourdough starter guide and beginner recipe to follow are often one’s first steps. However, anxious moments ensue when things don’t appear to be going as described and research shifts to troubleshooting articles, YouTube videos, and Facebook group posts. In my opinion, the most important lesson that home sourdough bakers should take out of getting started is that both their starter and chosen flours are living ingredients. Therefore, they require constant adaptation to a variety of environmental factors.
Taking the importance of adaptation a step further, recipes are often best viewed as guides towards achieving specific flavor profiles and crumb textures rather than rigid lists of ingredients, parameters, and instructions. Though I will admit that putting this into practice tends to become easier as one learns to trust his or her overall dough preparation and baking processes. Therefore, baking one or two recipes repeatedly is good way to both adapt and learn at the same time.
As an example I’ll describe my recipe development process:
Foundation: I typically bake 2 loaves per batch and aim for 900-1000g of flour (not including the flour in the levain), 16-20% innoculation, 75-85% hydration, and 2-2.2% salt. In order to make this process easier I use Foodgeek’s Bread Calculator.
Inspiration: Whether I want to figure out how to highlight at specific grain or create a specific flavor profile. I start off by reading a bunch of recipes, researching ingredients, and sometimes asking fellow bakers for their input. Then I slowly piece together my final recipe and plan my dough preparation process. I say slowly because for me, developing a recipe is a game of baker’s math percentages. Meaning, by keeping this perspective in mind I can do the following once I find a recipe or source of information (article, video, social media post) that most closely resembles the flavor profile that I’m aiming for. Firstly, I can decide how close my recipe will resemble the recipe that I’ve chosen to use as a guide. Secondly, I can then keep track of how much each ingredient and process decision ends up influencing key characteristics of my finished loaves.
Which brings up to this series of loaves…
After being gifted some Niles Red Flint and Yellow Dent corn by Melissa Johnson of Breadtopia. I did some research and found her Corn porridge and Rosemary loaf recipe. Using it as a guide, I kept her innoculation rate, hydration percentage, and heirloom corn percentages the same because this was my first time baking with corn. However, I chose to add a whole grain component to complement the color of each variety of corn and add additional complexity. For my “yellow loaf” (formula) I chose khorasan (Kamut), an ancient wheat varietal in the durum family known for its yellow color and sweet and nutty flavors. Next, for my “red loaf” (formula) I chose a hard red spring wheat varietal that is appropriately named Yecora Rojo. Process-wise I also followed Melissa’s recipe’s instructions, but admittedly had some difficulty deciding when to end bulk fermentation.
Step 1: Milling the corn and wheat berries
I used my Mockmill 100 professional to mill the corn on a coarse setting and then on a fine setting before combining it with boiling water to create a cornmeal porridge that would be added to the dough later on. Both the khorasan and Yecora Rojo were milled on a fine setting (1).
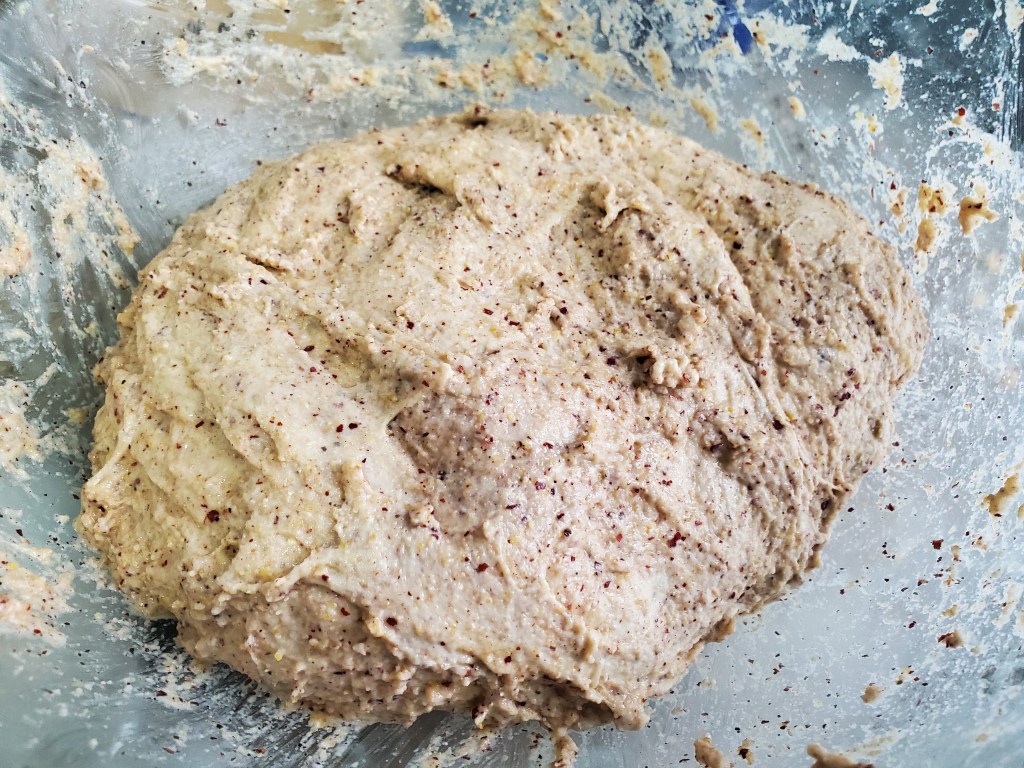
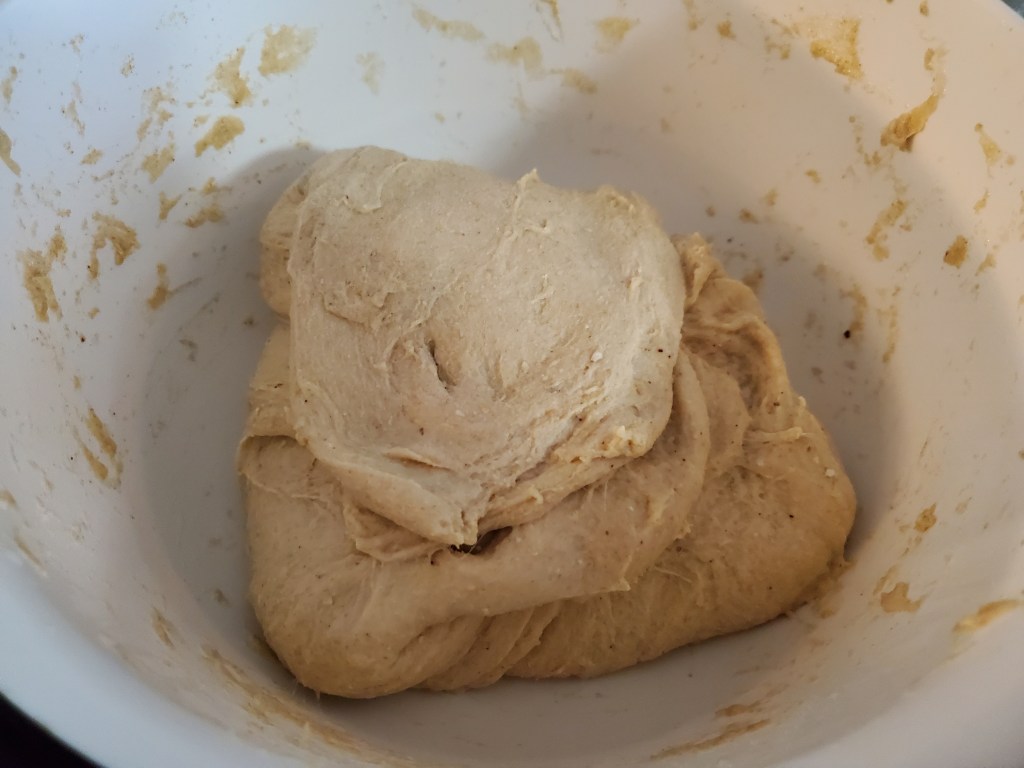
Step 2: Mixing the dough
Once the porridges were measuring below 120F I mixed my doughs. I added the porridge after I was sure that the levain was fully incorporated. Both doughs were left to rest for 30 minutes prior to their first set of stretch and folds.


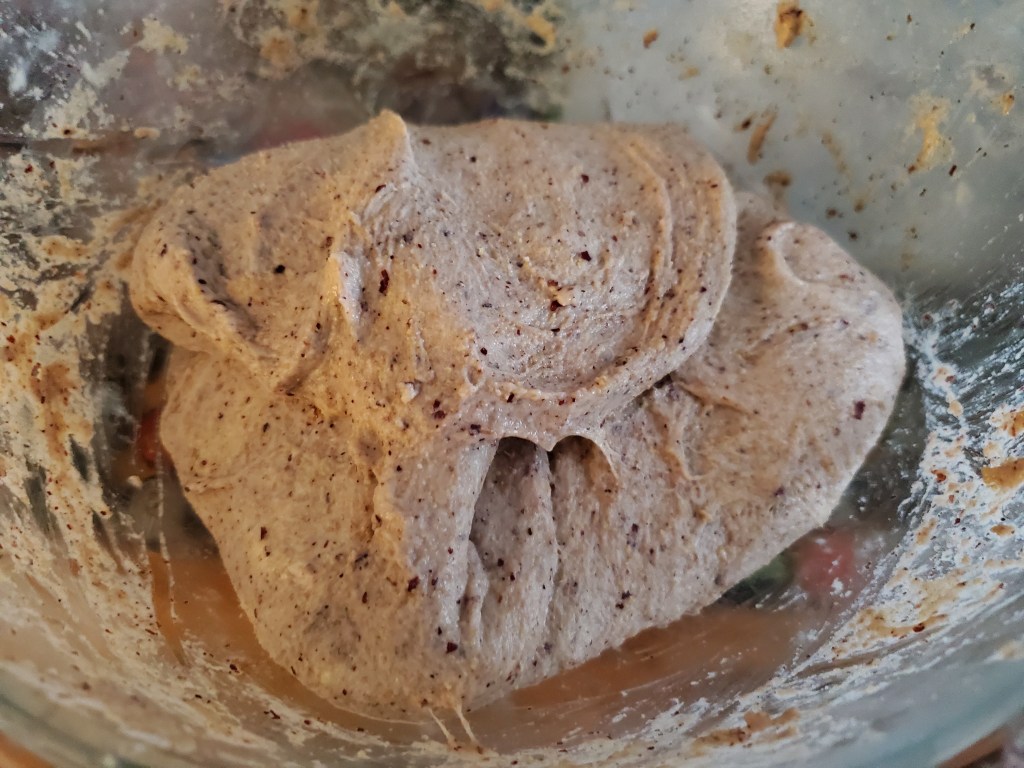
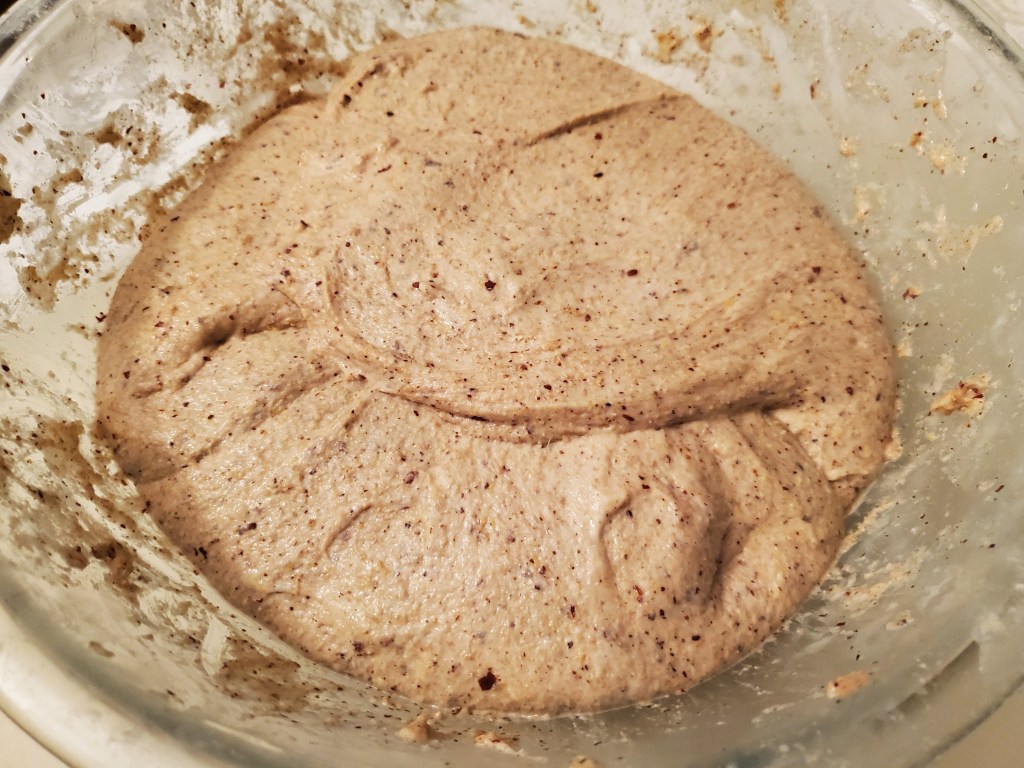
Step 3: Bulk fermentation
Because I was fermenting two doughs I opted to ferment them at room temperature. While gluten developement looked good after three sets of stretch and folds (spaced 40 minutes apart), both doughs recieved a fourth set for extra strength (and piece of mind). In the end both fermented for 6.25 hours prior to preshaping.

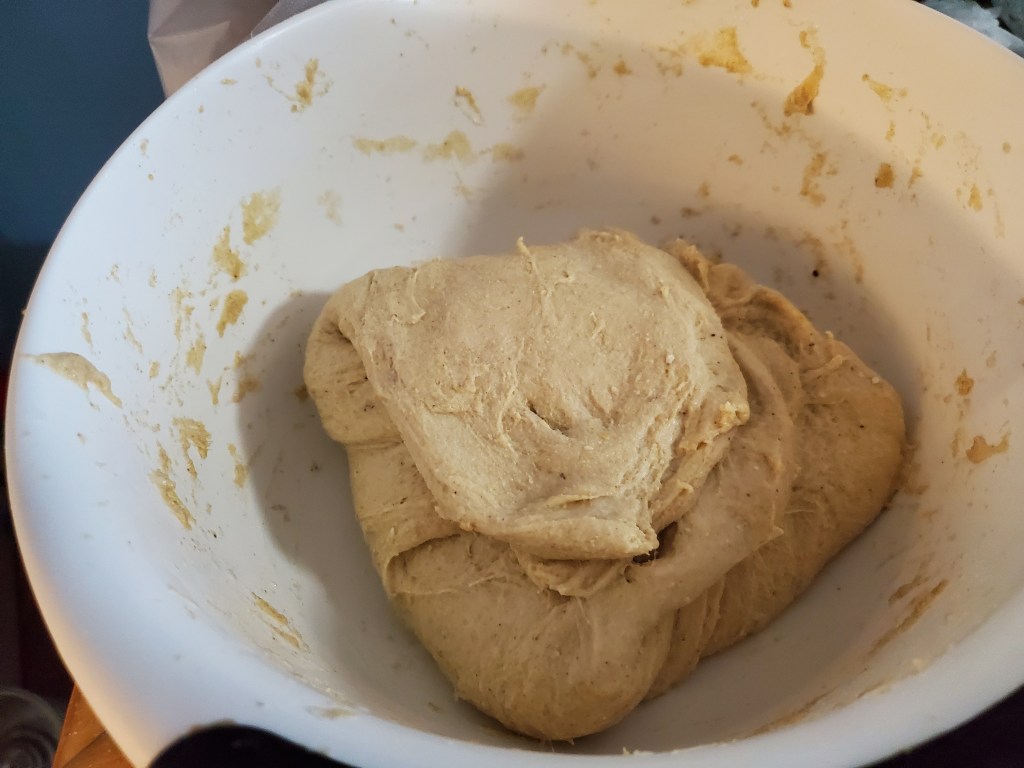

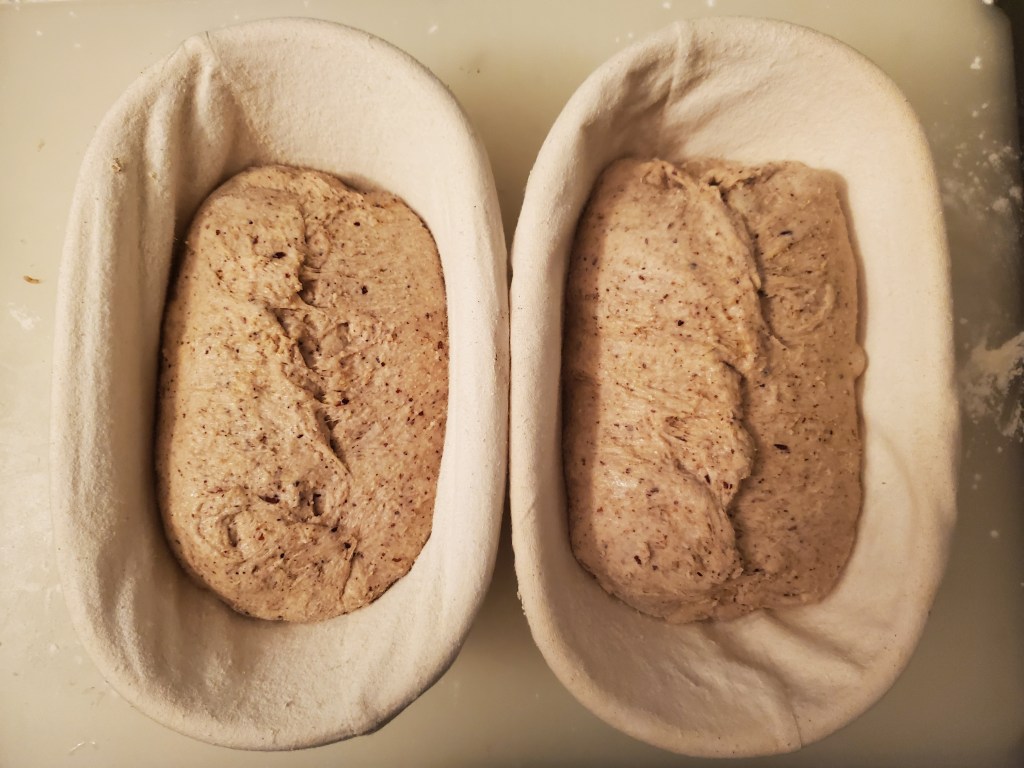
Step 4: Shaping
Because I was a bit nervous about whether bulk fermentation was complete, the doughs bench rested for 35 minutes instead of my usual 20-25. I final shaped the red loaves into batards and the yellow loaves into boules. All four loaves were then put in my refrigerator for a 13 hour cold proof. Of note, Melissa’s recipe calls for a 30-60 room temperature proof prior to putting the loaves in for their cold proof, but I chose to stick with my usual process of putting them straight in the refrigerator.

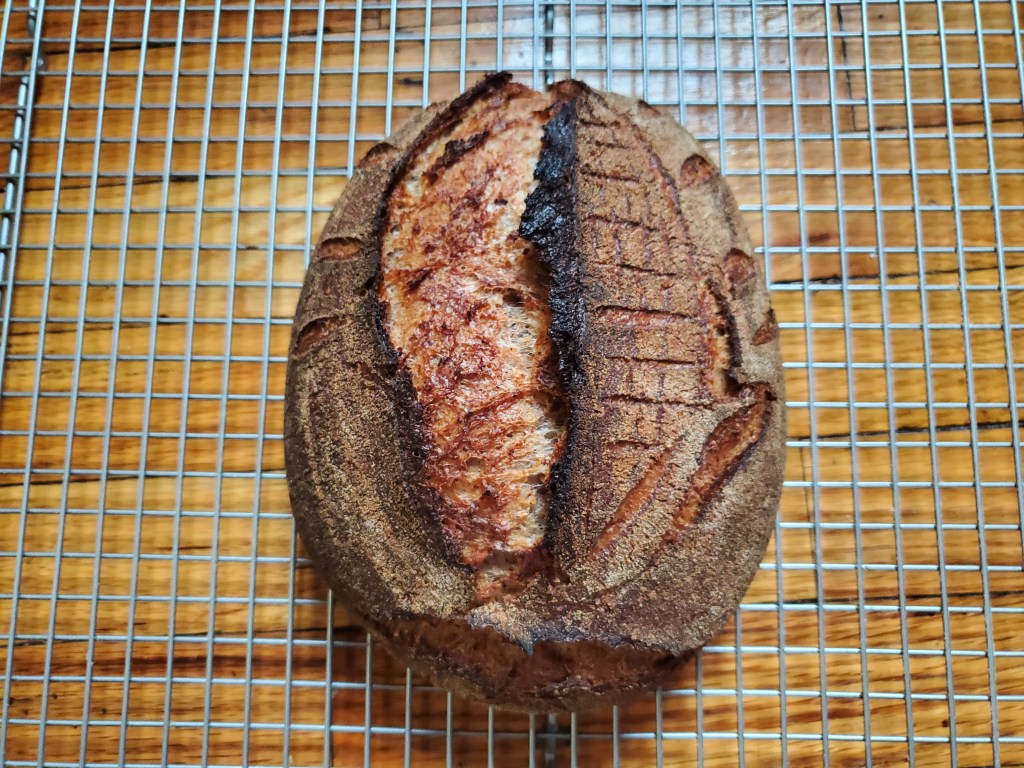
Step 5: Baking
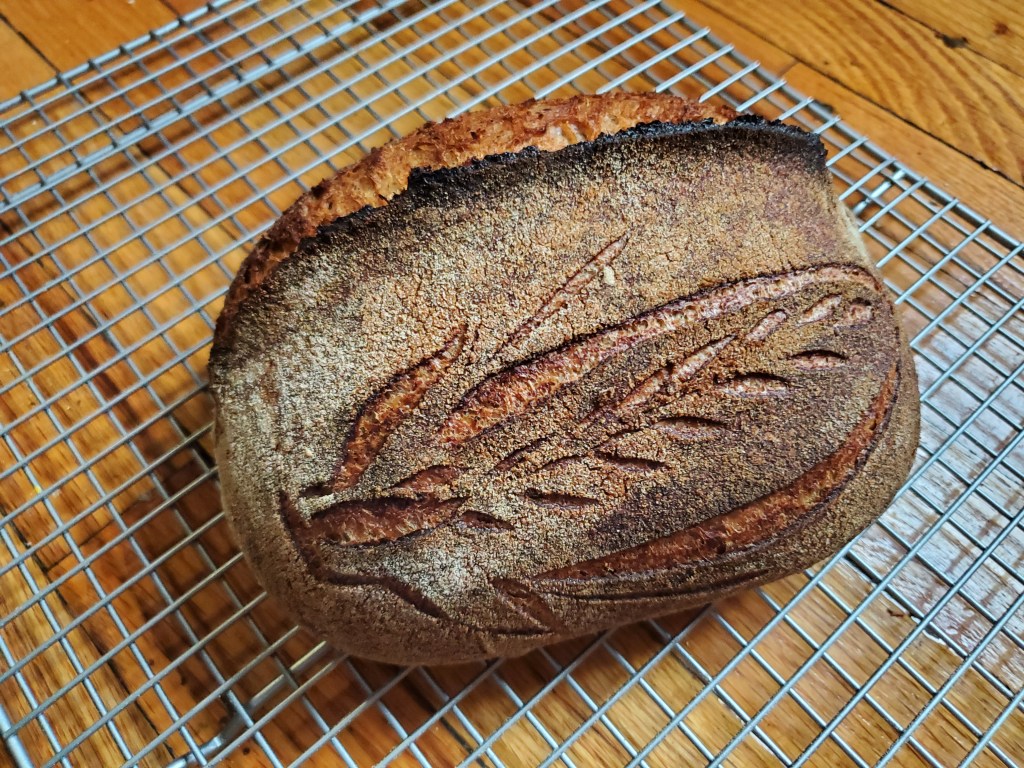
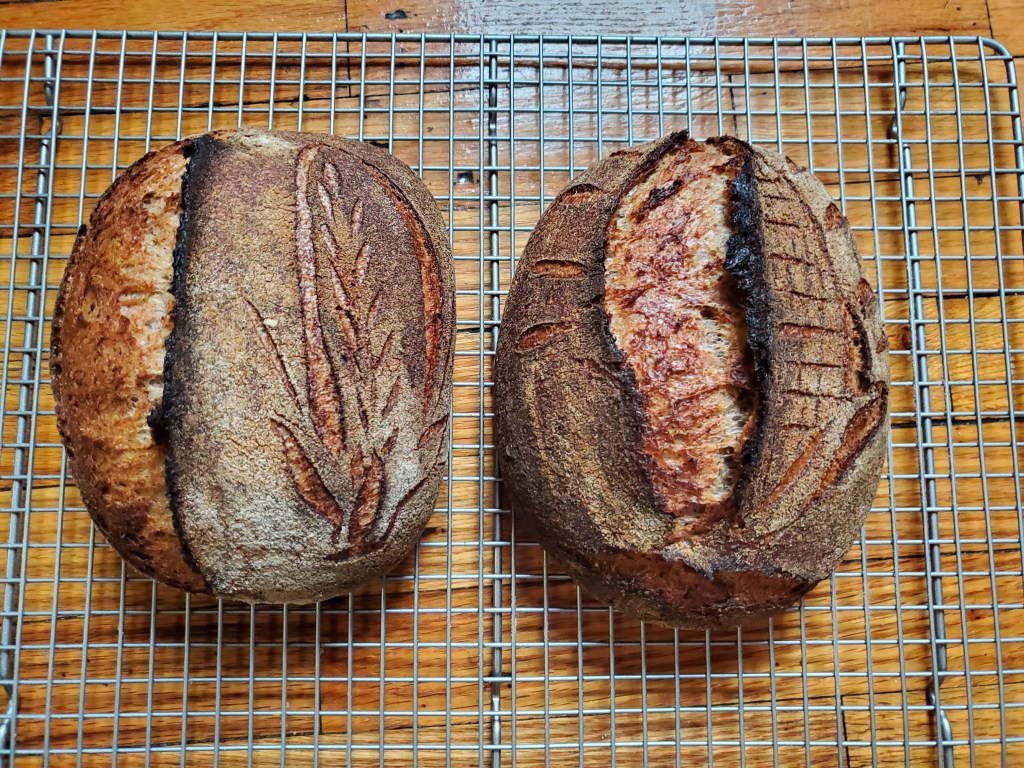
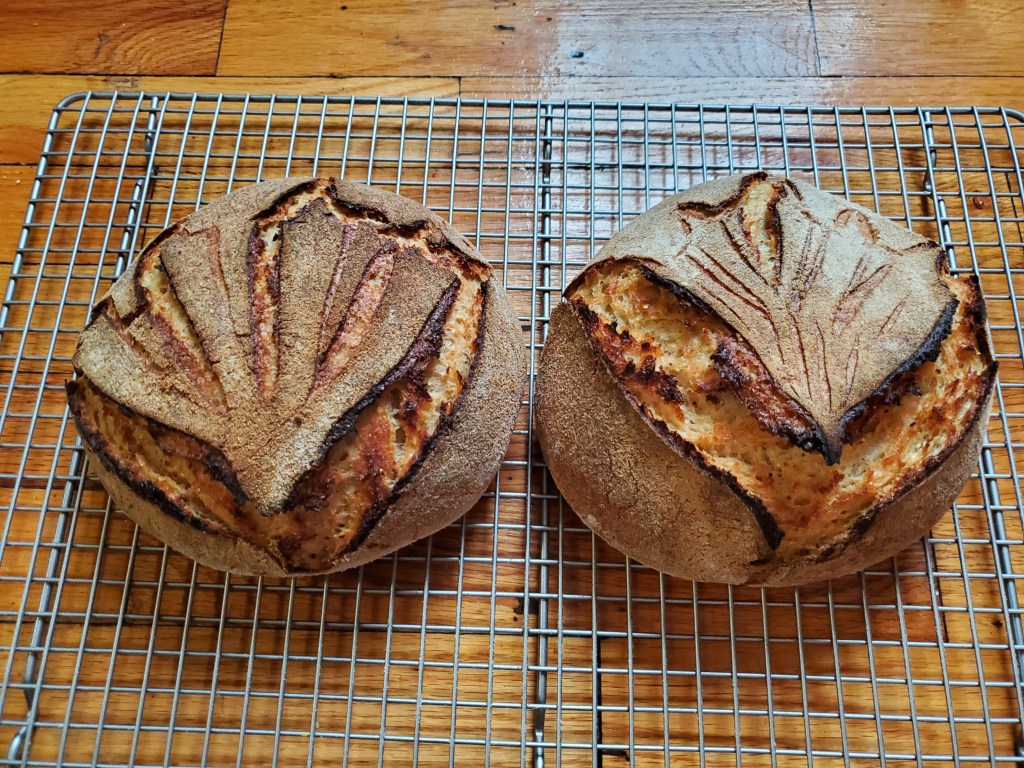
When upon taking the loaves out for baking I was a big concerned about their lack of growth, but carried on with baking them as planned. I scored “red” loaves with ears of corn and the “yellow” loaves with an attempt an Autumn leaf. All four were baked covered at 480F (⍨250C) for 23 minutes and uncovered at 450F (⍨230C) 18-20 minutes. Of note, the yellow loaves seemed to be moist on top after the covered portion of the bake, but I knew that it would evaporate after baking uncovered so I wasn’t too concerned at the time.
Finals results/future iterations:
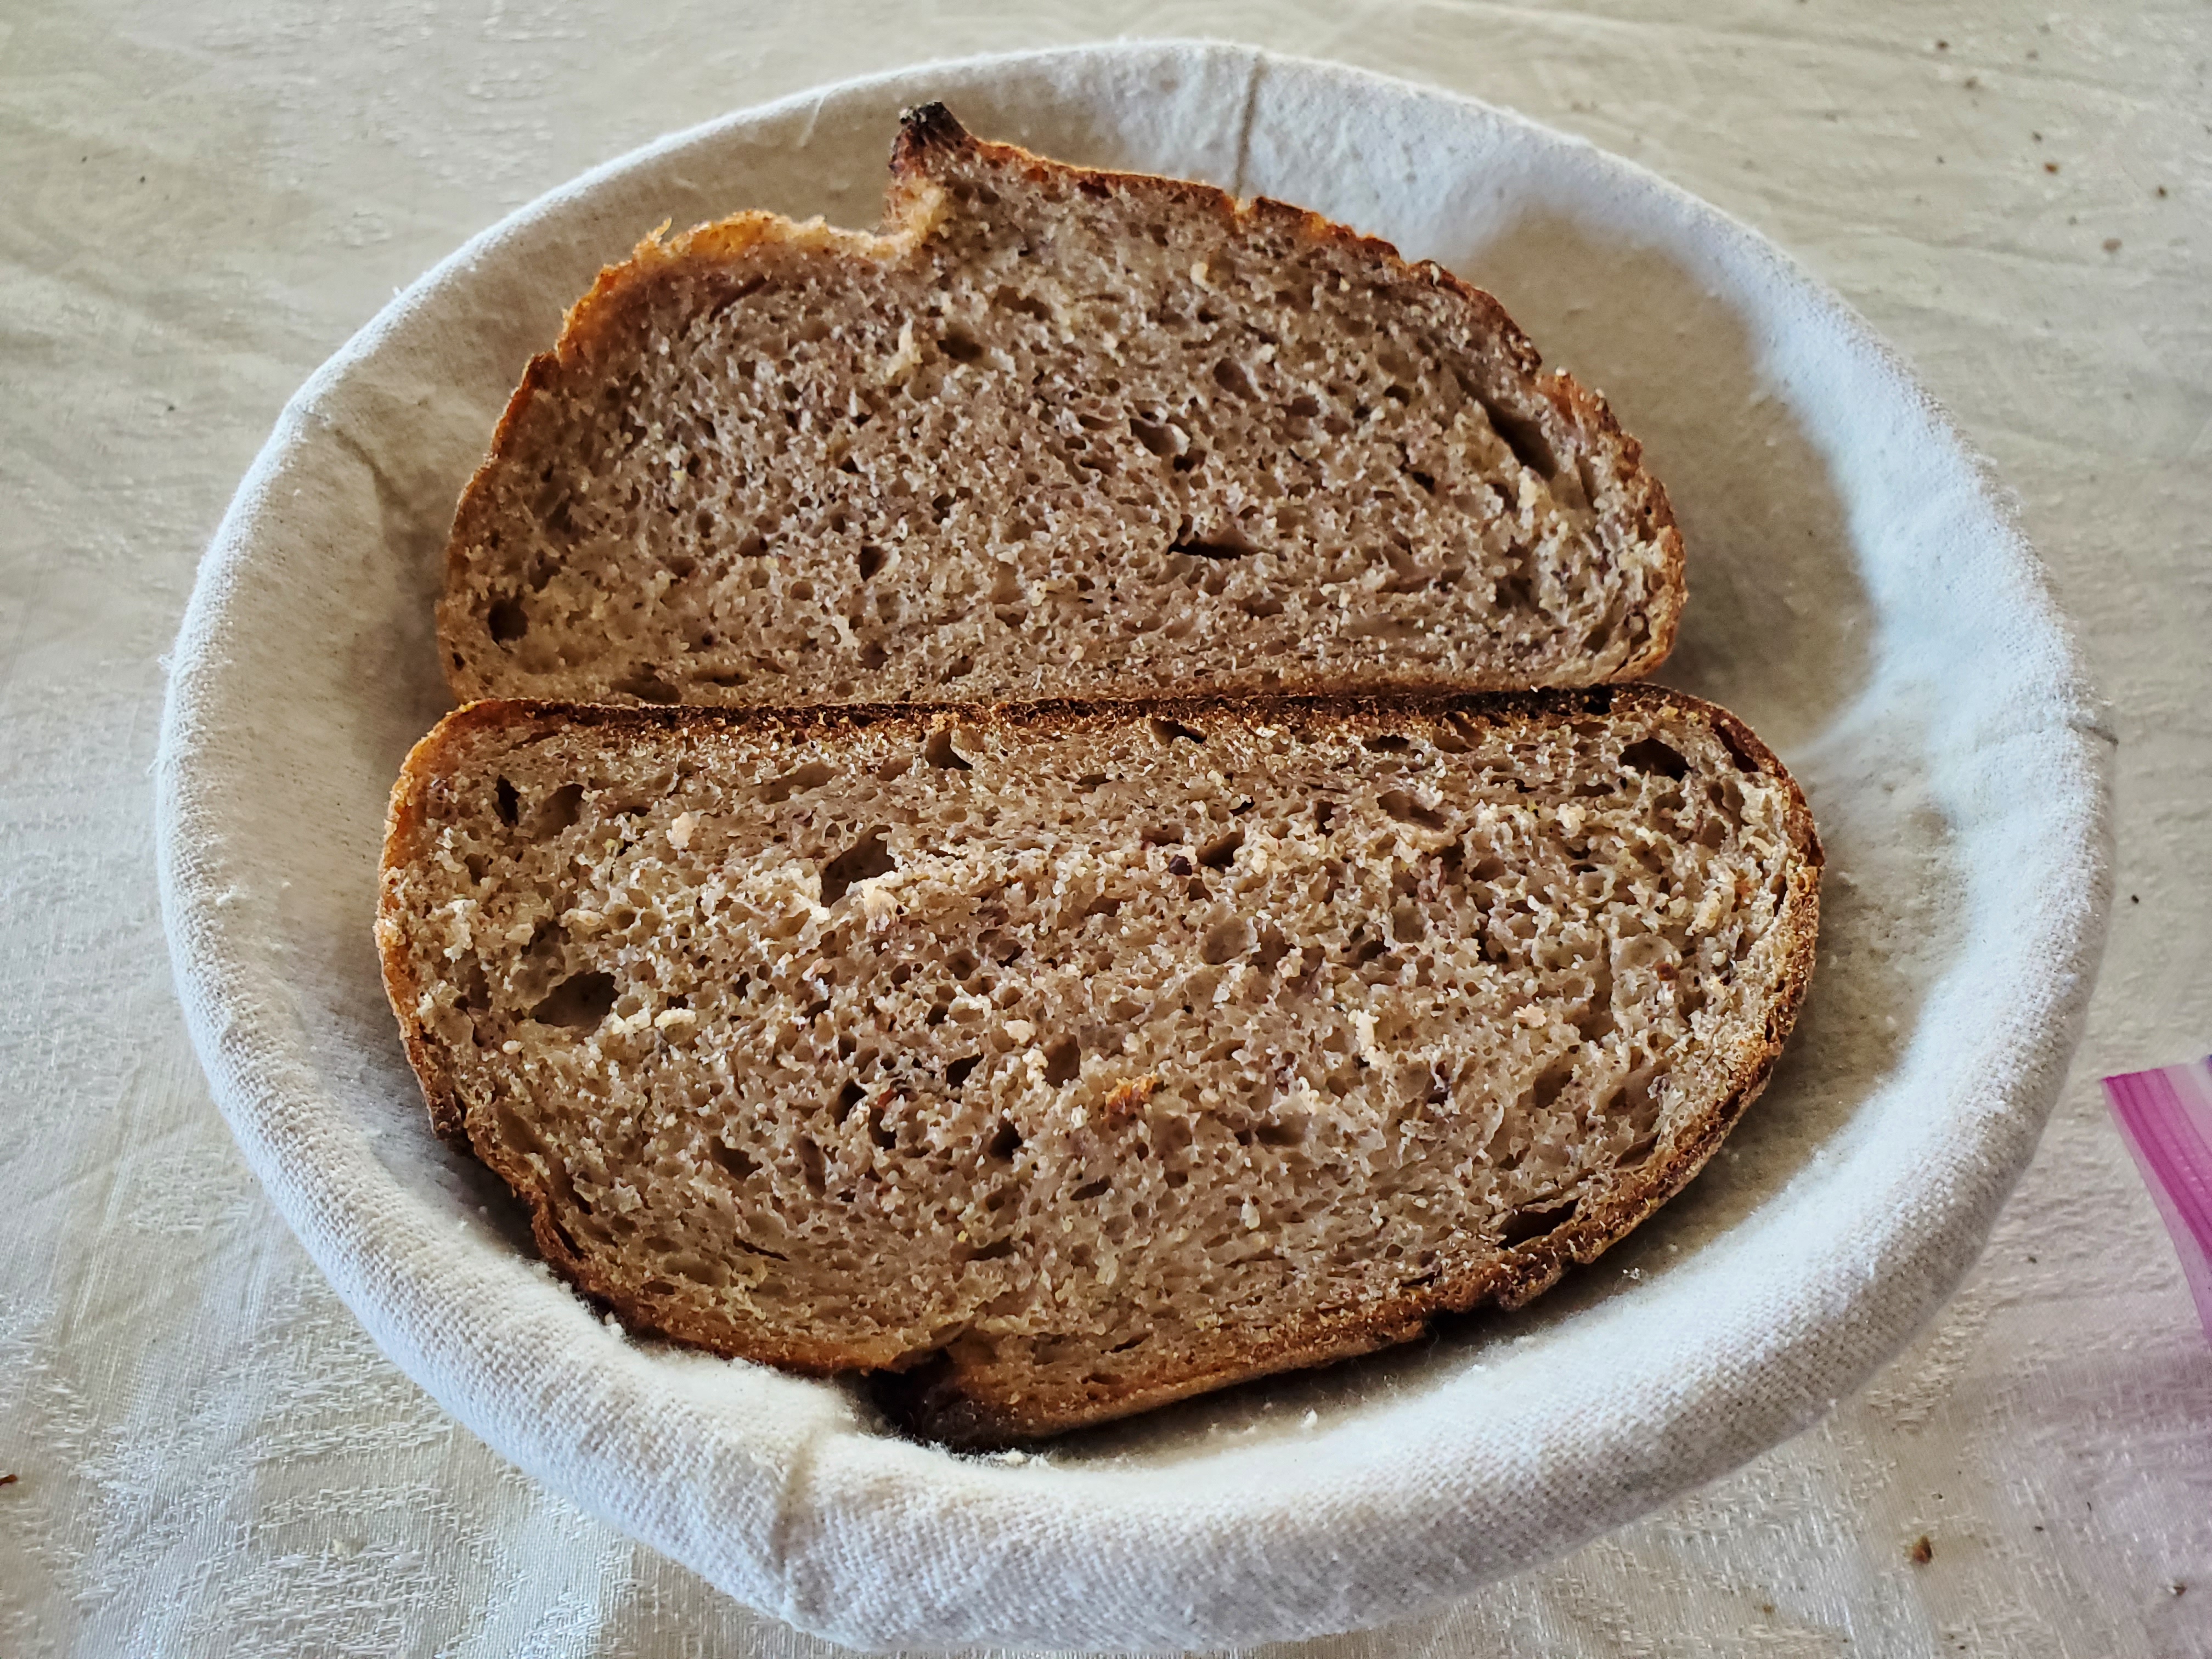
“Red” Loaves: Overall these loaves came out great. Their crust and crumb were recognizably red with a soft and even texture and appearance. In terms of flavor, the whole grain Yecora Rojo flavor was more apparent than the sweetness and flavor of the corn porridge, but I definitely enjoyed the hearty wheat character. Compared to the “yellow” loaves, the crumb on these loaves was more open, which was probably due to differences in protein content between the Yecora Rojo and khorasan. Lastly, in terms of future iterations of this recipe, I’ll most likely use a bit less Yecora Rojo and/or try out a different red wheat in order to bring out more corn flavor.
“Yellow” Loaves: The soft porridge loaf crumb texture that I’ve come to enjoy was more apparent in these loaves and so was the sweetness from the corn and honey. As noted above the crumb wasn’t nearly as open, which gave these loaves a texture similar to enriched doughs. While at first I wasn’t sure if I liked the crumb texture, I ended up liking it more with each slice. Next time I baked this recipe I’ll probably use less khorasan to allow the corn flavor to be more obvious and raise my innoculation percentage to 18%.


Happy Baking!